***** ALERT - Nominations for your new ClubCJ Committee can be made here *****
*CLOSED* Dashcam Group Buy Rd 4.1 Aug'14
Moderator: Senior Moderators


-
chukatsung

- Lancer VR/GT

- Posts: 204
- Joined: Mon Oct 15, 2012 9:06 am
- Location: Sydney, AU
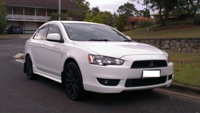
Heres a 5 minute install that i did, as i have ordered a new car and this is for it.
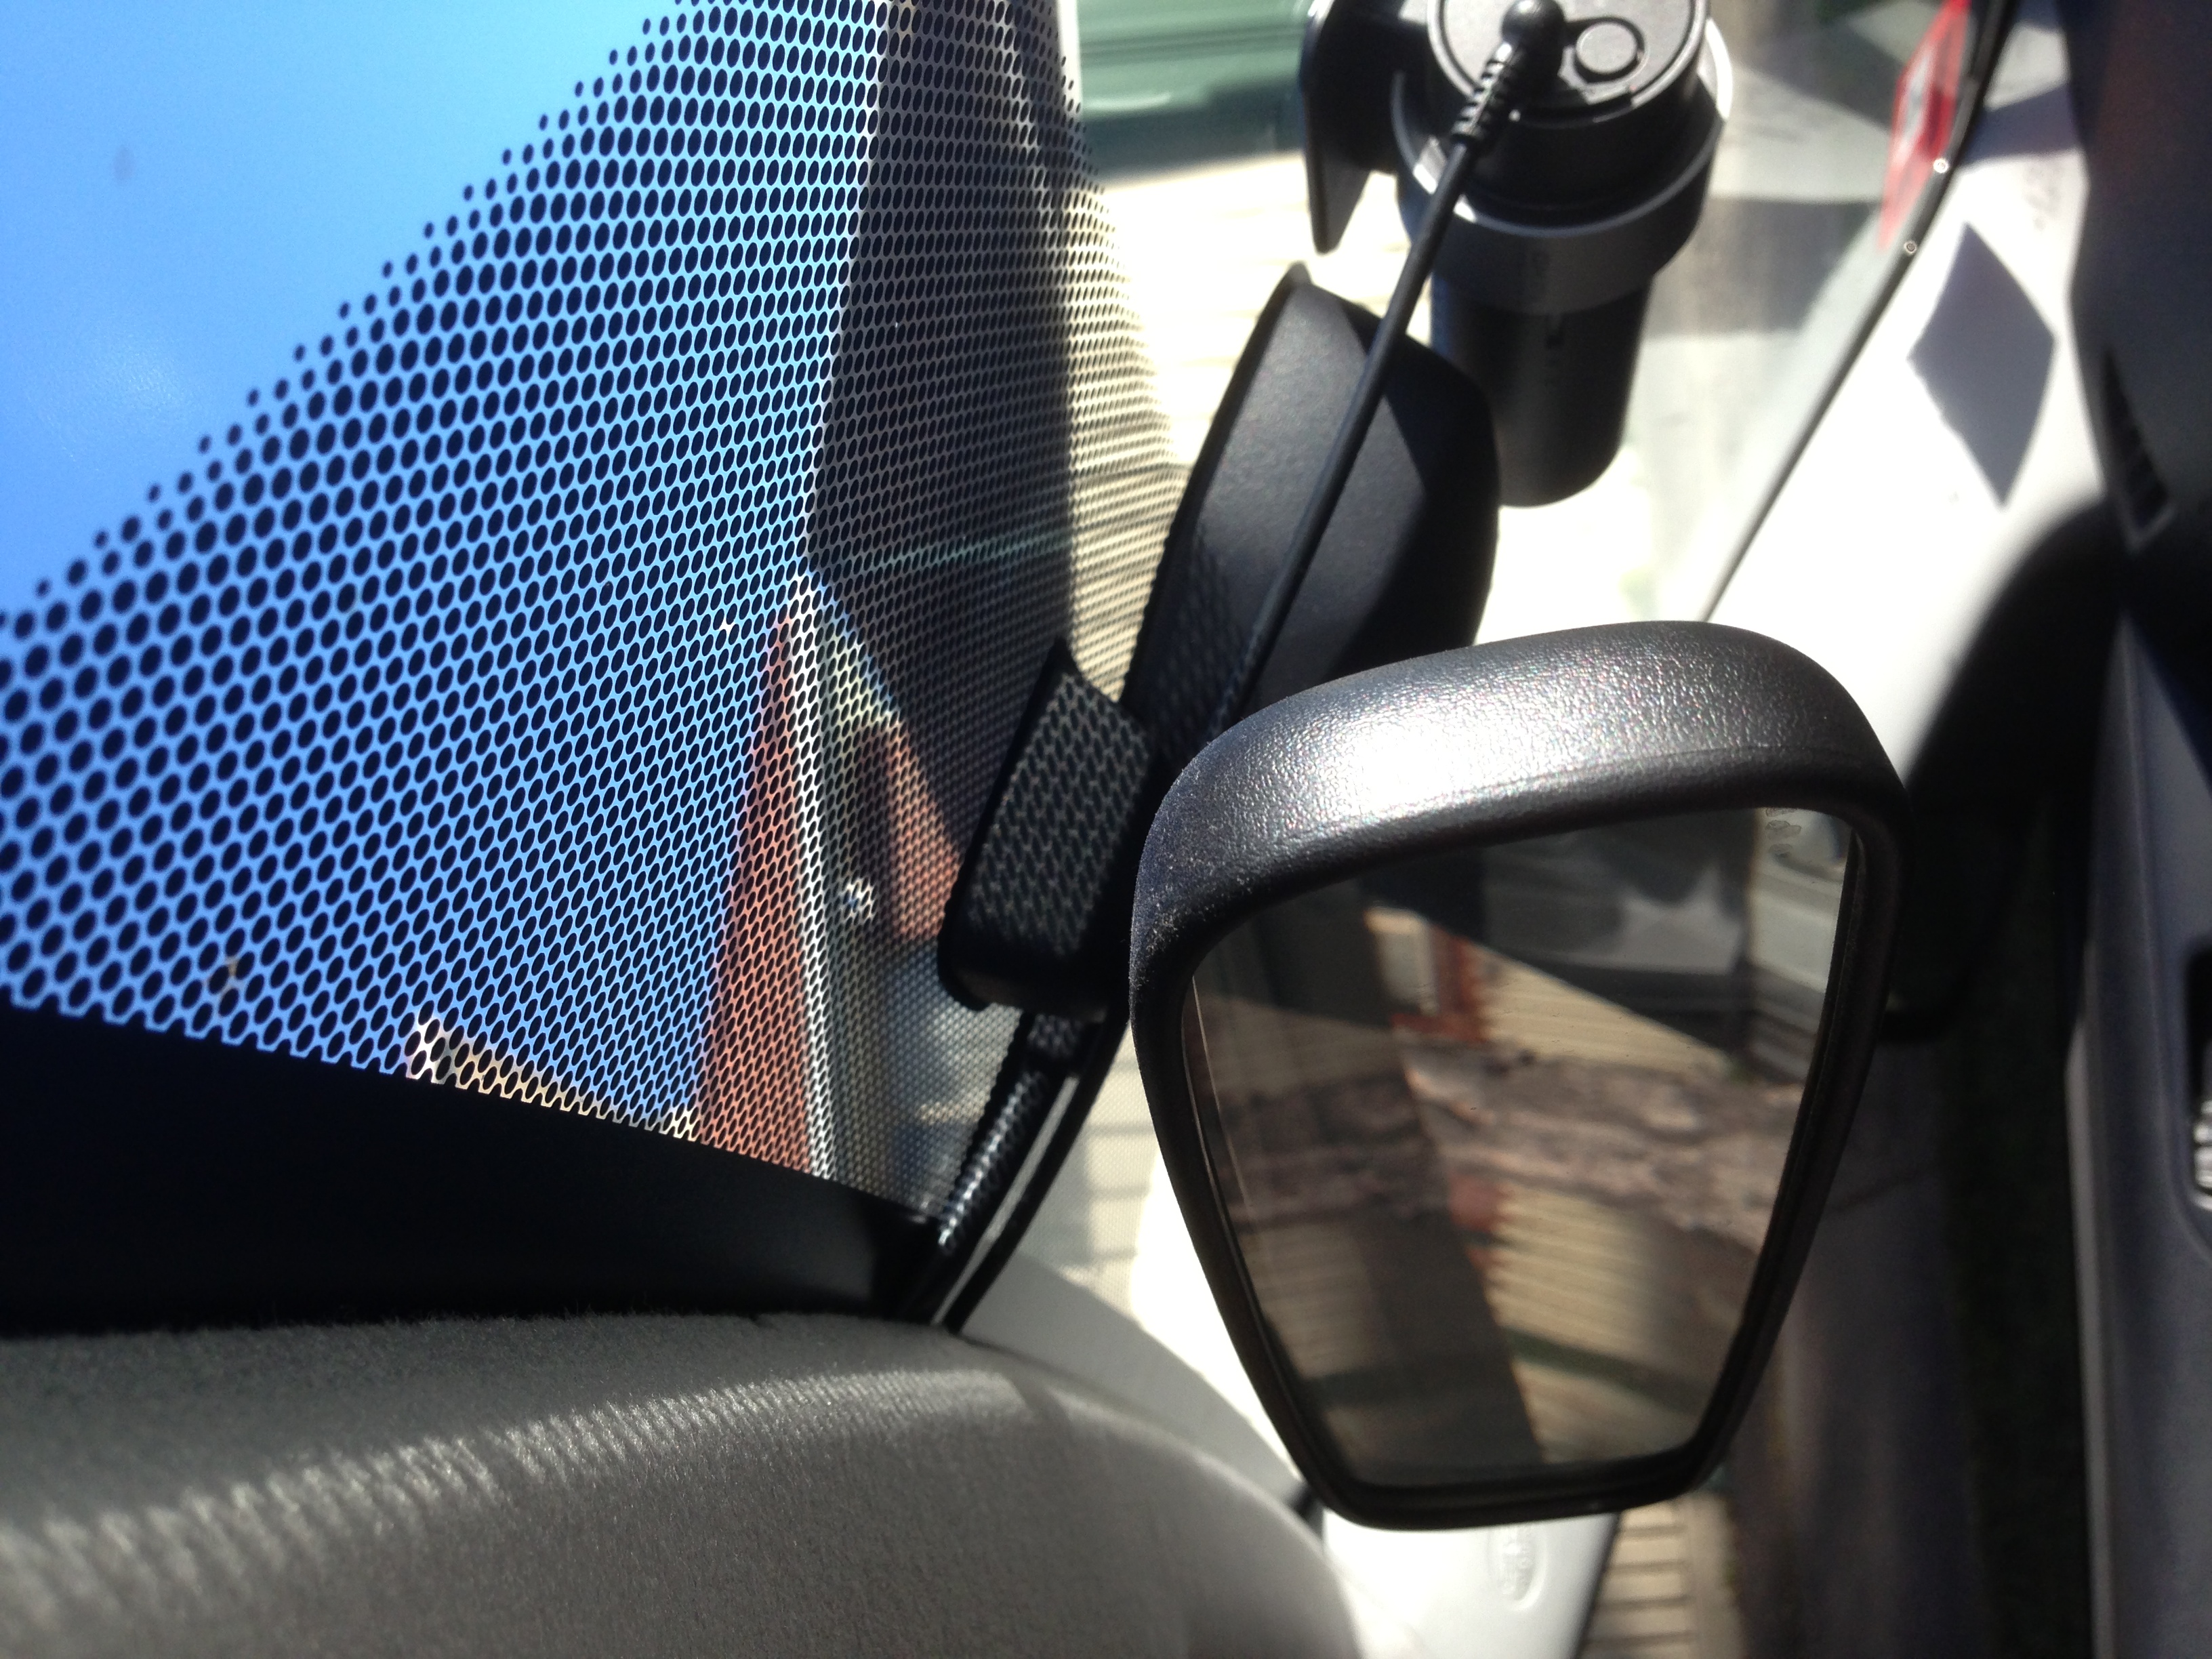
i installed the blackvue first, then plugged in my power cord.
excuse the sideways photo, unplug the clip on the A pillar cover, tuck the cable inside.
then run the cable along the lip on the roof lining, and plug it into the Blackvue unit.
pull it all nice and tight so there is no hang.
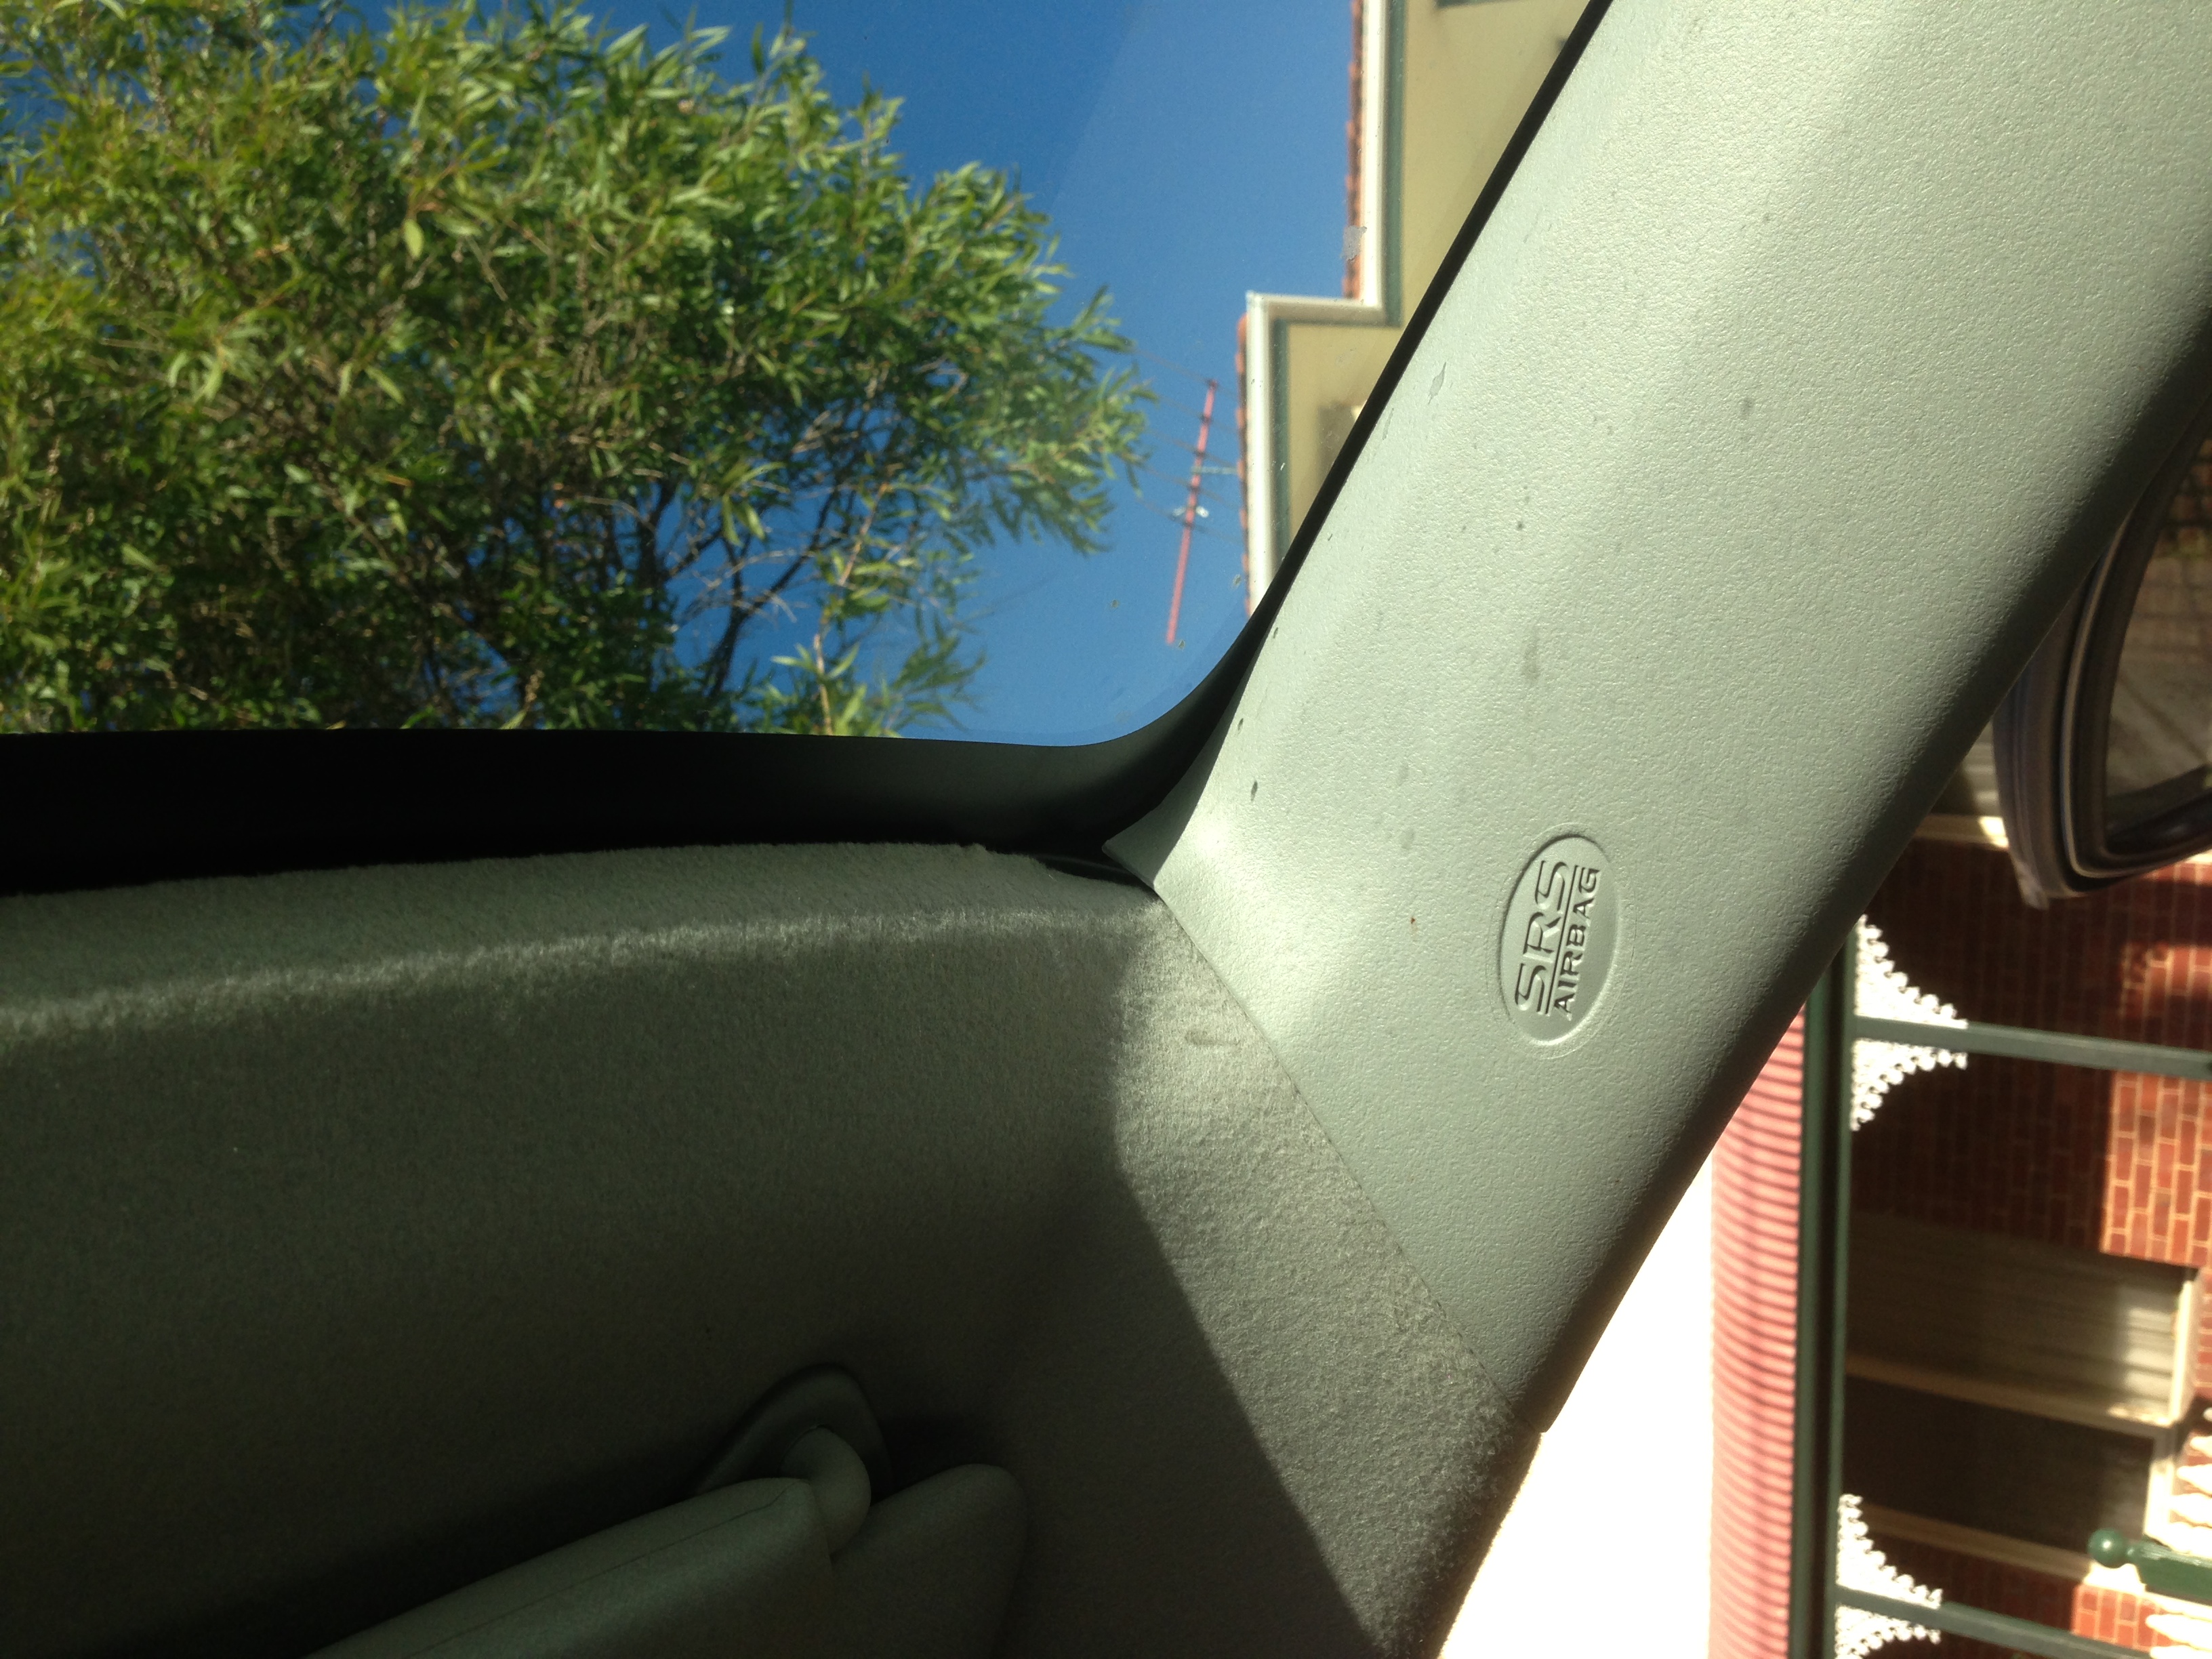
i left a little bit in view im sure you could tuck it all away if you try.
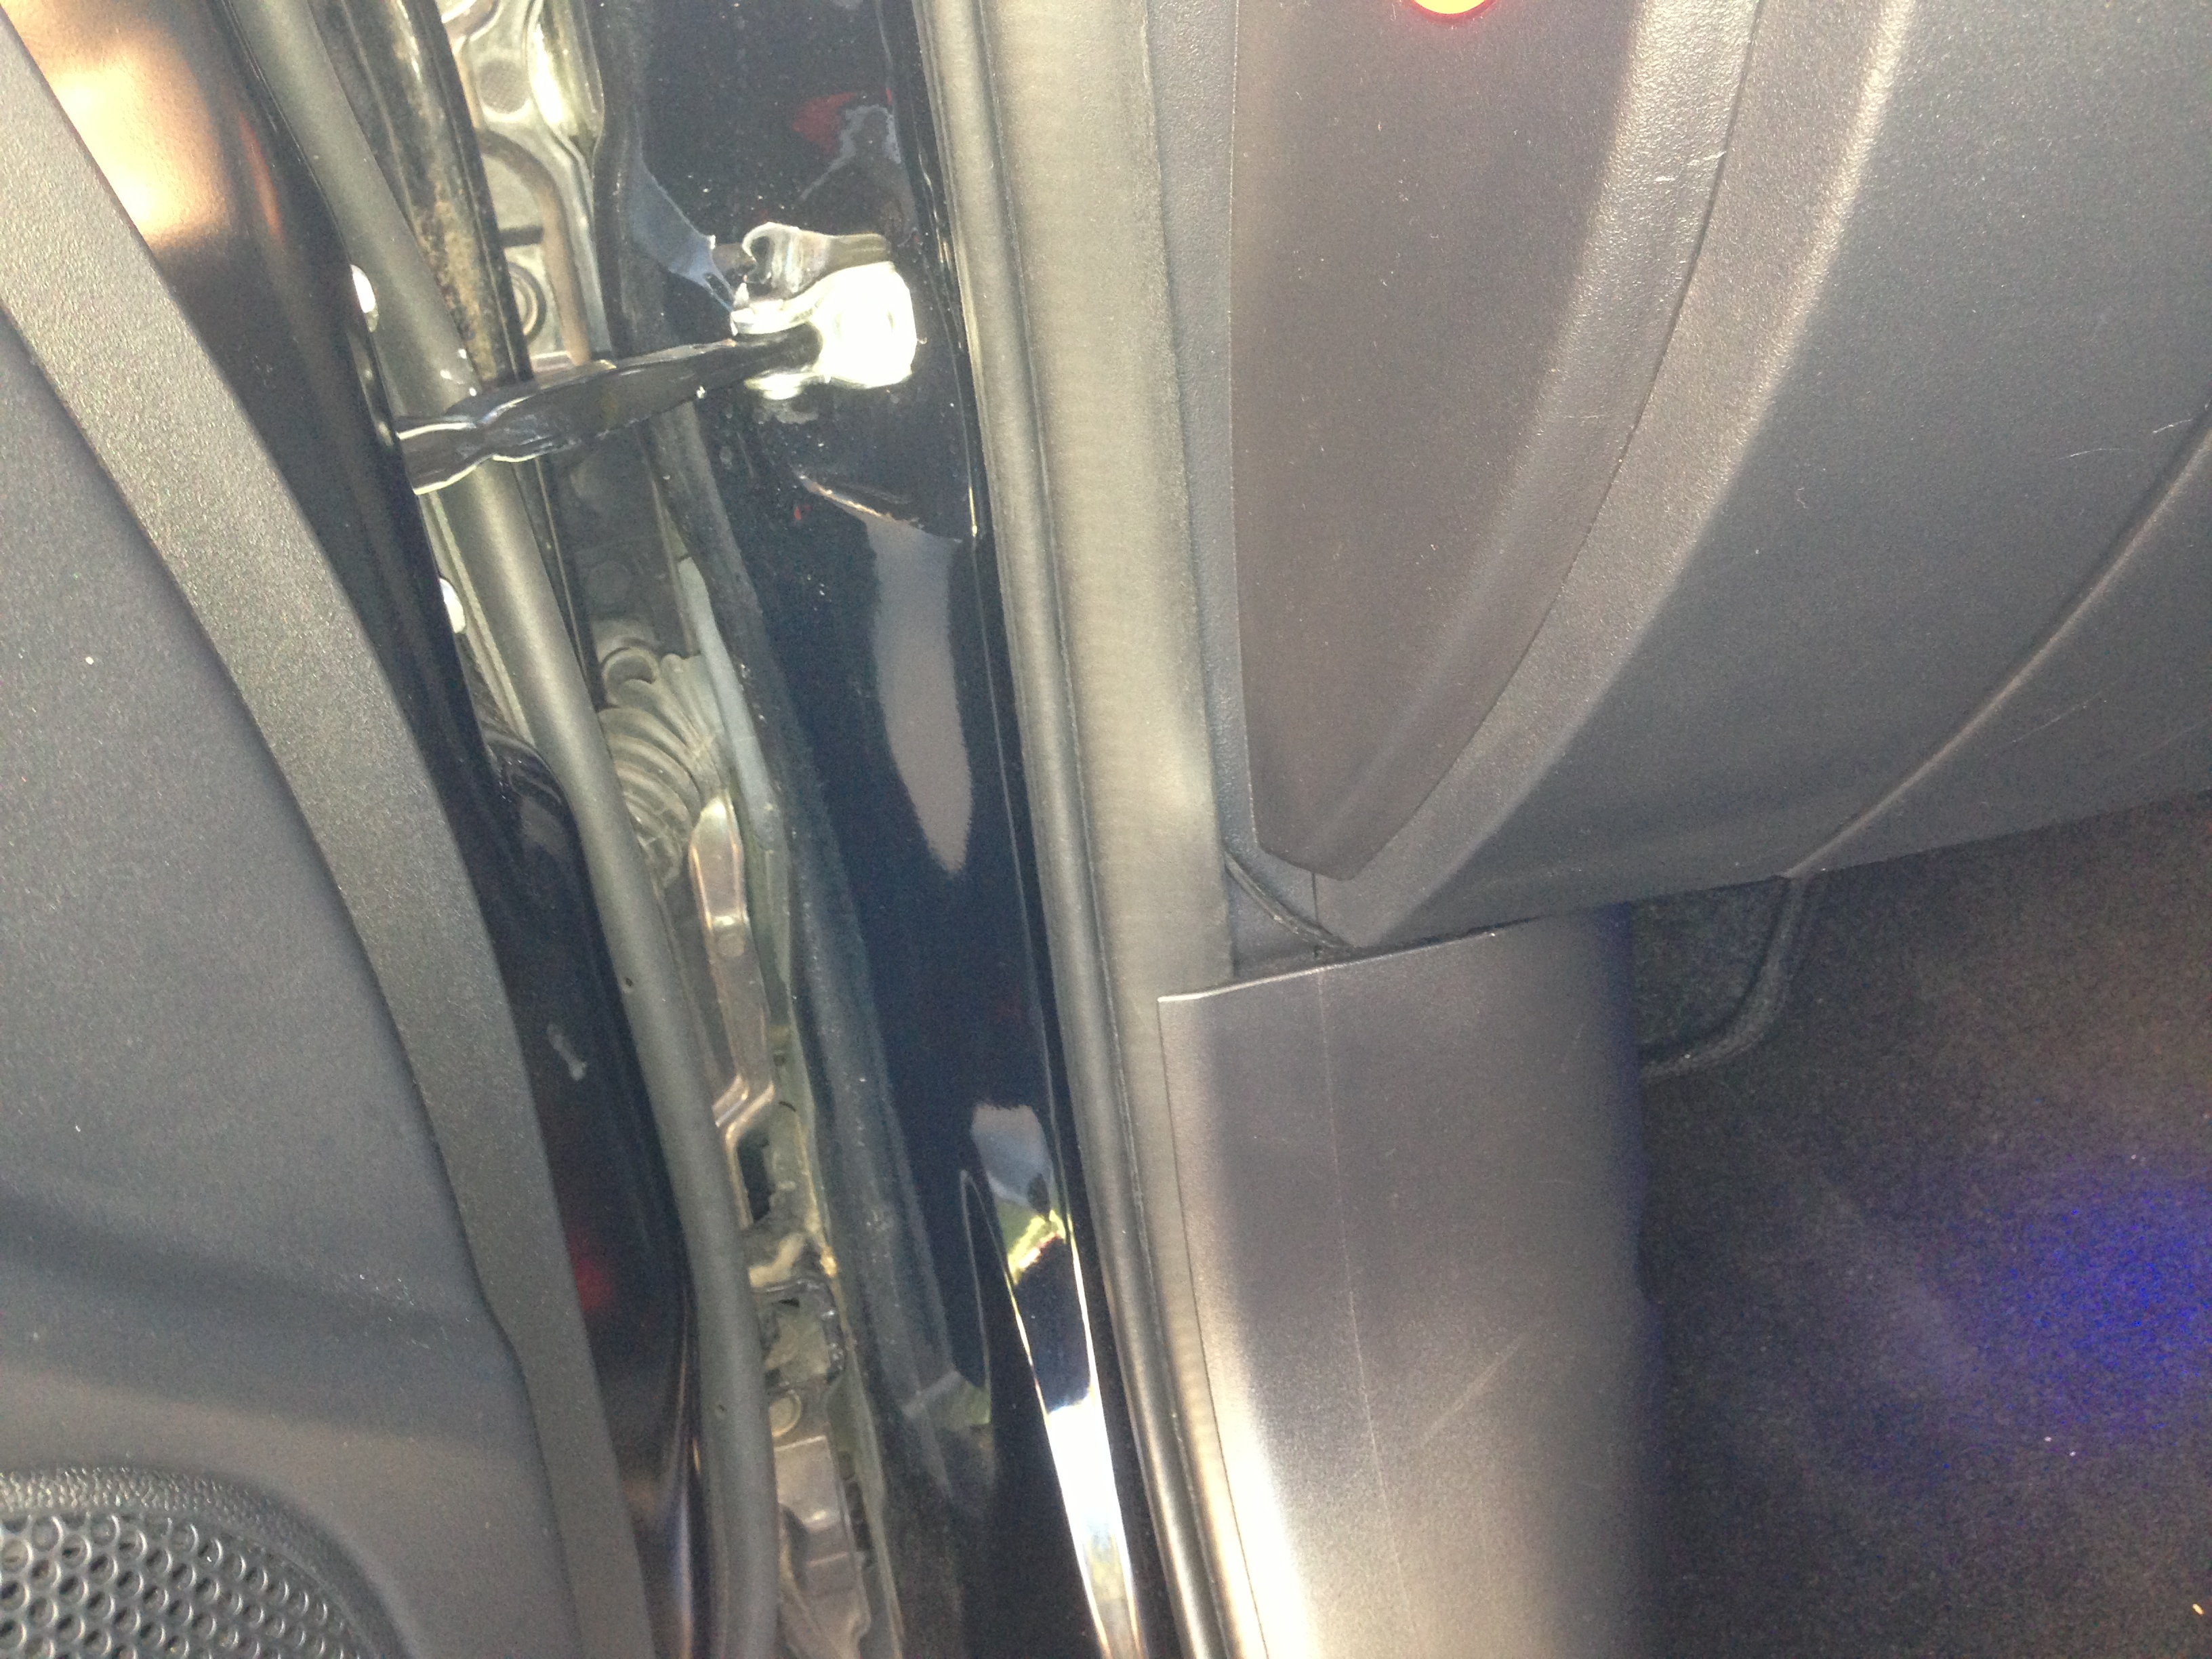
lift the rubber lining and slide the cable into the gap from gap leading down from the A pillar, tuck it behind the kick guard, then behind the floor mat and up under the center console and plug it in.
no PMP on this car.
left alittle inview but again you could hide it if you try.. i can add more photos if people are not understanding this.
i installed the blackvue first, then plugged in my power cord.
excuse the sideways photo, unplug the clip on the A pillar cover, tuck the cable inside.
then run the cable along the lip on the roof lining, and plug it into the Blackvue unit.
pull it all nice and tight so there is no hang.
i left a little bit in view im sure you could tuck it all away if you try.
lift the rubber lining and slide the cable into the gap from gap leading down from the A pillar, tuck it behind the kick guard, then behind the floor mat and up under the center console and plug it in.
no PMP on this car.
left alittle inview but again you could hide it if you try.. i can add more photos if people are not understanding this.

-
himynameisdaniel
- Lancer Evolution

- Posts: 824
- Joined: Mon Feb 14, 2011 3:58 pm
- Location: Adelaide
-
SchumieFan

- Lancer ES/EX

- Posts: 182
- Joined: Thu Dec 01, 2011 9:33 pm
- Location: Sydney
-
JaZira5
- Lancer VR/GT
- Posts: 213
- Joined: Sat Mar 12, 2011 3:03 am
- Location: Hawthorne, Queensland, Australia
Just to add to Meaty\'s write up. This is wear I found to be nice locations to secure the Power Magic Pro to.
1. The unit itself to a plastic bracket beside the AC Filter holder with double sided 3M tape. So that I can still access the switch without having to take out the actual glove box to reach it.
2. The cable attachments to a vertical cable on the right side of the glove box area. I did it in such a way that I could remove and replace the power connector or add a double attachment there with another device.
And the remaining extra cables I zip tied and secured them to the bottom of the glove box area. But I didn\'t take any photos of them.
Plus for those looking for a ground connector, there is one behind the removable foot panel tucked behind (or in my case, beside) the carpet. The ground cable of the Power Magic Pro is a bit short so depending on where you want to place it, you may need to extend it. Lucky where I put the unit, it was just able to fit without any stretching.

Front install doesn't seem like an issue, really quick even. I have a small issue tho, I ordered a second one for the back window heh, does anyone know if there is an accessory power source back there, I don't particularly want to pull up all the door trims to run power to the back unless I have to.
Its an evo so the battery is in the back, just need the accessory only power source.
Its an evo so the battery is in the back, just need the accessory only power source.
-
chukatsung
- Lancer VR/GT
- Posts: 204
- Joined: Mon Oct 15, 2012 9:06 am
- Location: Sydney, AU
-
SchumieFan
- Lancer ES/EX
- Posts: 182
- Joined: Thu Dec 01, 2011 9:33 pm
- Location: Sydney
JaZira5 wrote:Just to add to Meaty's write up. This is wear I found to be nice locations to secure the Power Magic Pro to. 1. The unit itself to a plastic bracket beside the AC Filter holder with double sided 3M tape. So that I can still access the switch without having to take out the actual glove box to reach it. [img:5aeaf5a161]http://www.clubcj.net/img/images/20130705023943_2013-07-0314.00.22.jpg[/img:5aeaf5a161] 2. The cable attachments to a vertical cable on the right side of the glove box area. I did it in such a way that I could remove and replace the power connector or add a double attachment there with another device. [img:5aeaf5a161]http://www.clubcj.net/img/images/20130705023943_2013-07-0314.00.10.jpg[/img:5aeaf5a161] And the remaining extra cables I zip tied and secured them to the bottom of the glove box area. But I didn't take any photos of them. Plus for those looking for a ground connector, there is one behind the removable foot panel tucked behind (or in my case, beside) the carpet. The ground cable of the Power Magic Pro is a bit short so depending on where you want to place it, you may need to extend it. Lucky where I put the unit, it was just able to fit without any stretching.
thats a tidy install, what circuits did you run your constant and acc power from? from fuse box?

-
JaZira5
- Lancer VR/GT
- Posts: 213
- Joined: Sat Mar 12, 2011 3:03 am
- Location: Hawthorne, Queensland, Australia
SchumieFan wrote: thats a tidy install, what circuits did you run your constant and acc power from? from fuse box?
I ran all my wires from the fuse box. I still need to buy fuse extensions to give them that extra protection. But the way I have them wired atm, its easy enough to just unplug and replace as needed. I found the layout and fuse positions via the vehicle instruction manual.
1. As my constant power source, I chose to use the "Hazard lights" since I don't think I will be using it all the time, nor will I need to use the hazard lights all the time. Which is why I chose to be able to access the switch easily via the gap when the glove box is open.
2. And the other wire, for when "AC is ON" was connected to the "Cigarette Lighter" fuse. Made life easier instead of having to extend wires to reach for the actual cigarette lighter wires under the centre console.
3. Then naturally the ground wire was connected to the ground point as stated by my original post above. Under the passenger foot panel, behind the foot carpet. Tip: before trying to connect the clip to the bolt, carefully (I stress CAREFULLY) open up the ground connector a bit with some pliers so that it can fit more snuggly onto the 10mm ground bolt. Or like I will do later on change the connector to one that will fit more nicely to the ground bolt.
Though, I would consider my current wiring temporary. As I still want to change a few things on how its connected to the car. But it is an easy way of getting it wired up and setting up the device for use.
All the best. ^_^
-
SchumieFan
- Lancer ES/EX
- Posts: 182
- Joined: Thu Dec 01, 2011 9:33 pm
- Location: Sydney
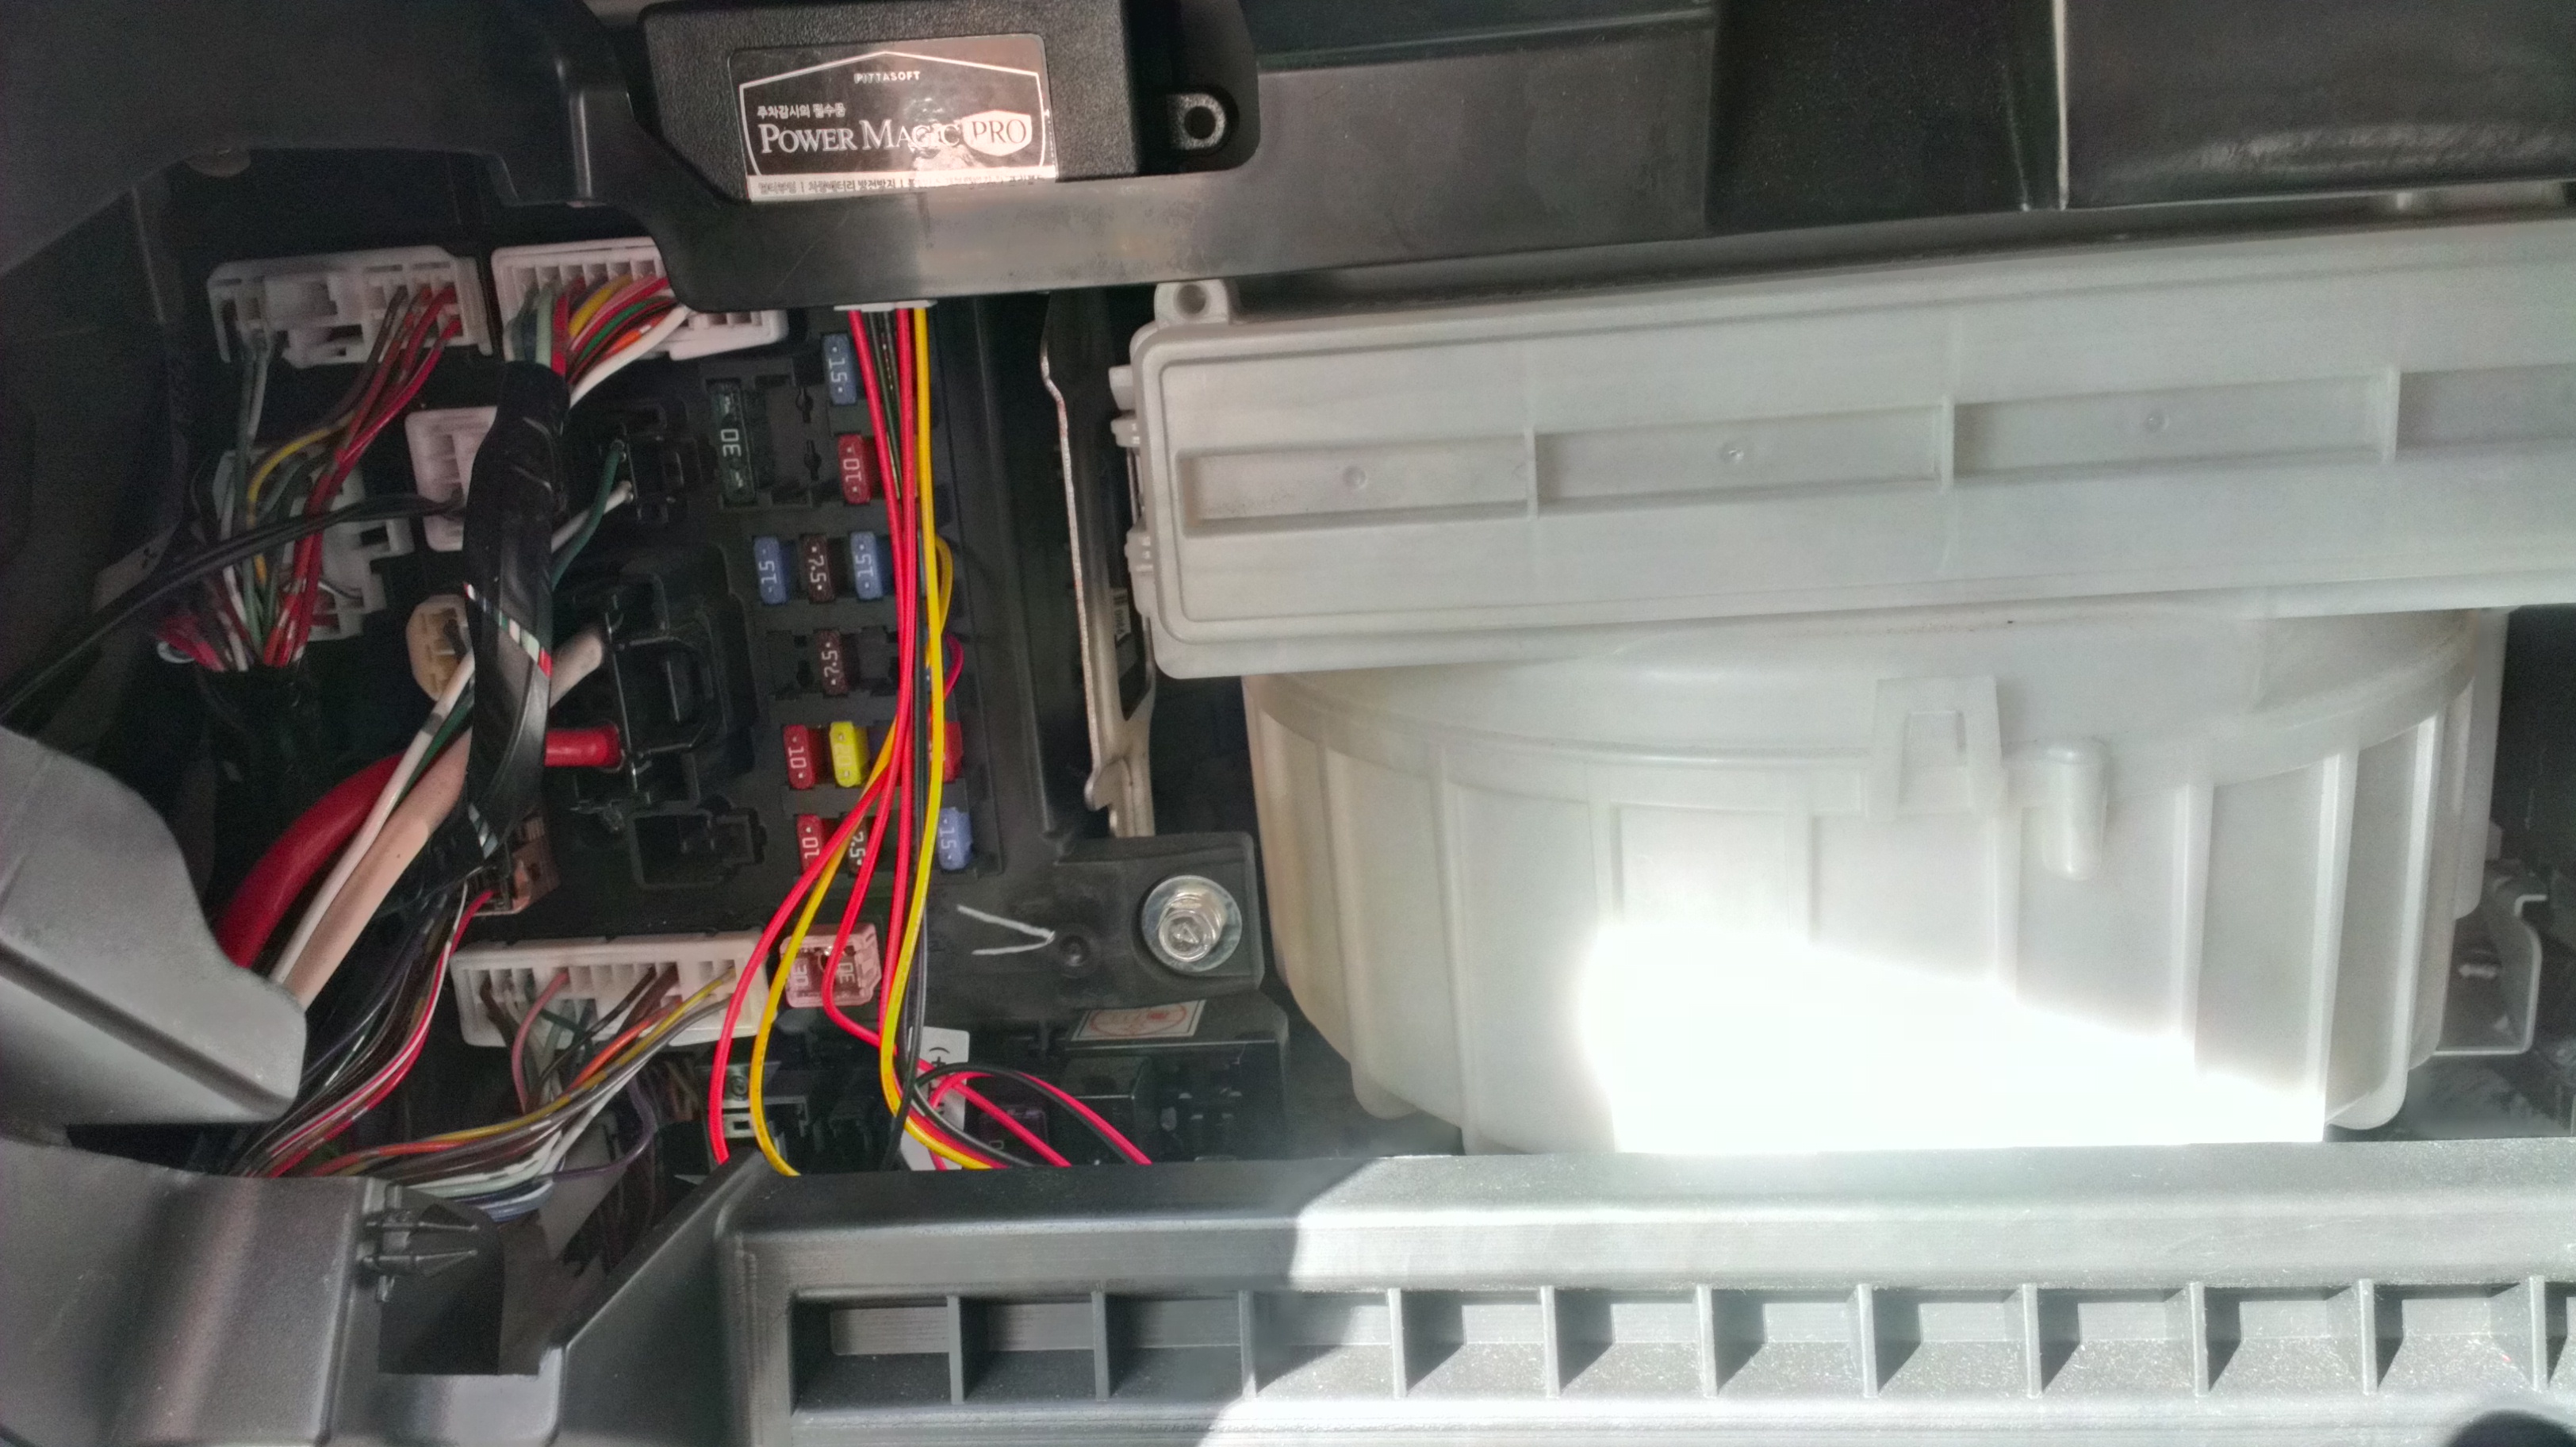
Installed the BlackVue also (Over the weekend).
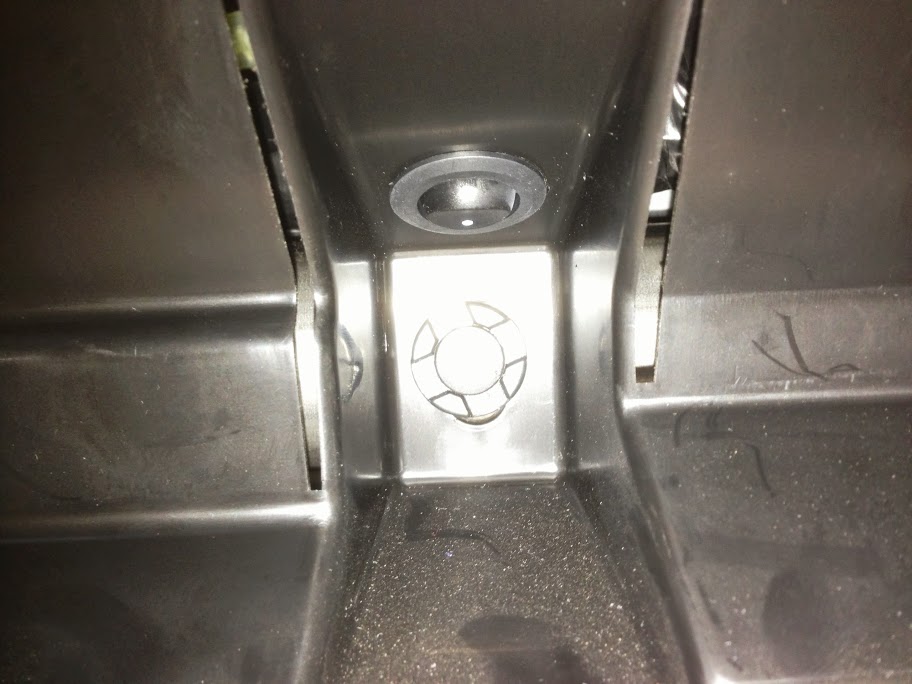
Found this random switch, had some info on what it could be (Maybe factory Bluetooth related).
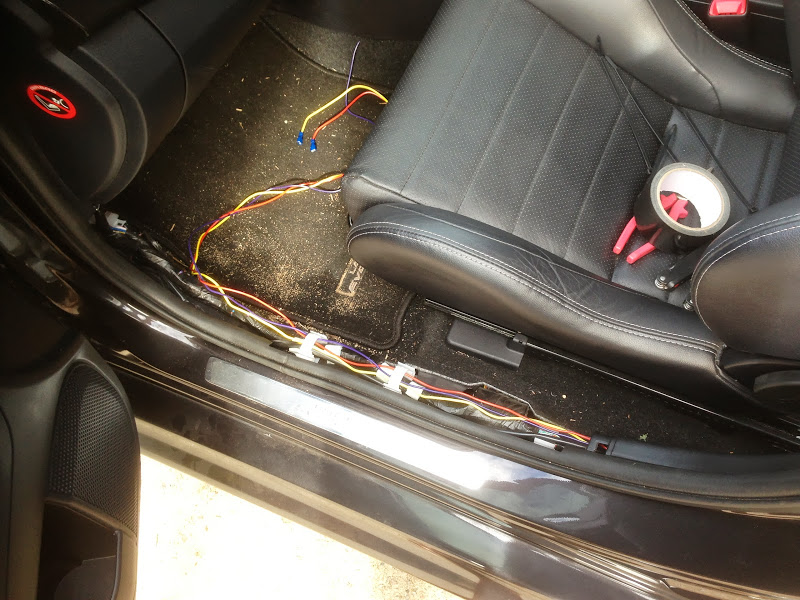
Pulled all the trimming off (Yes, I did clean the floor once I noticed how dirty it was)
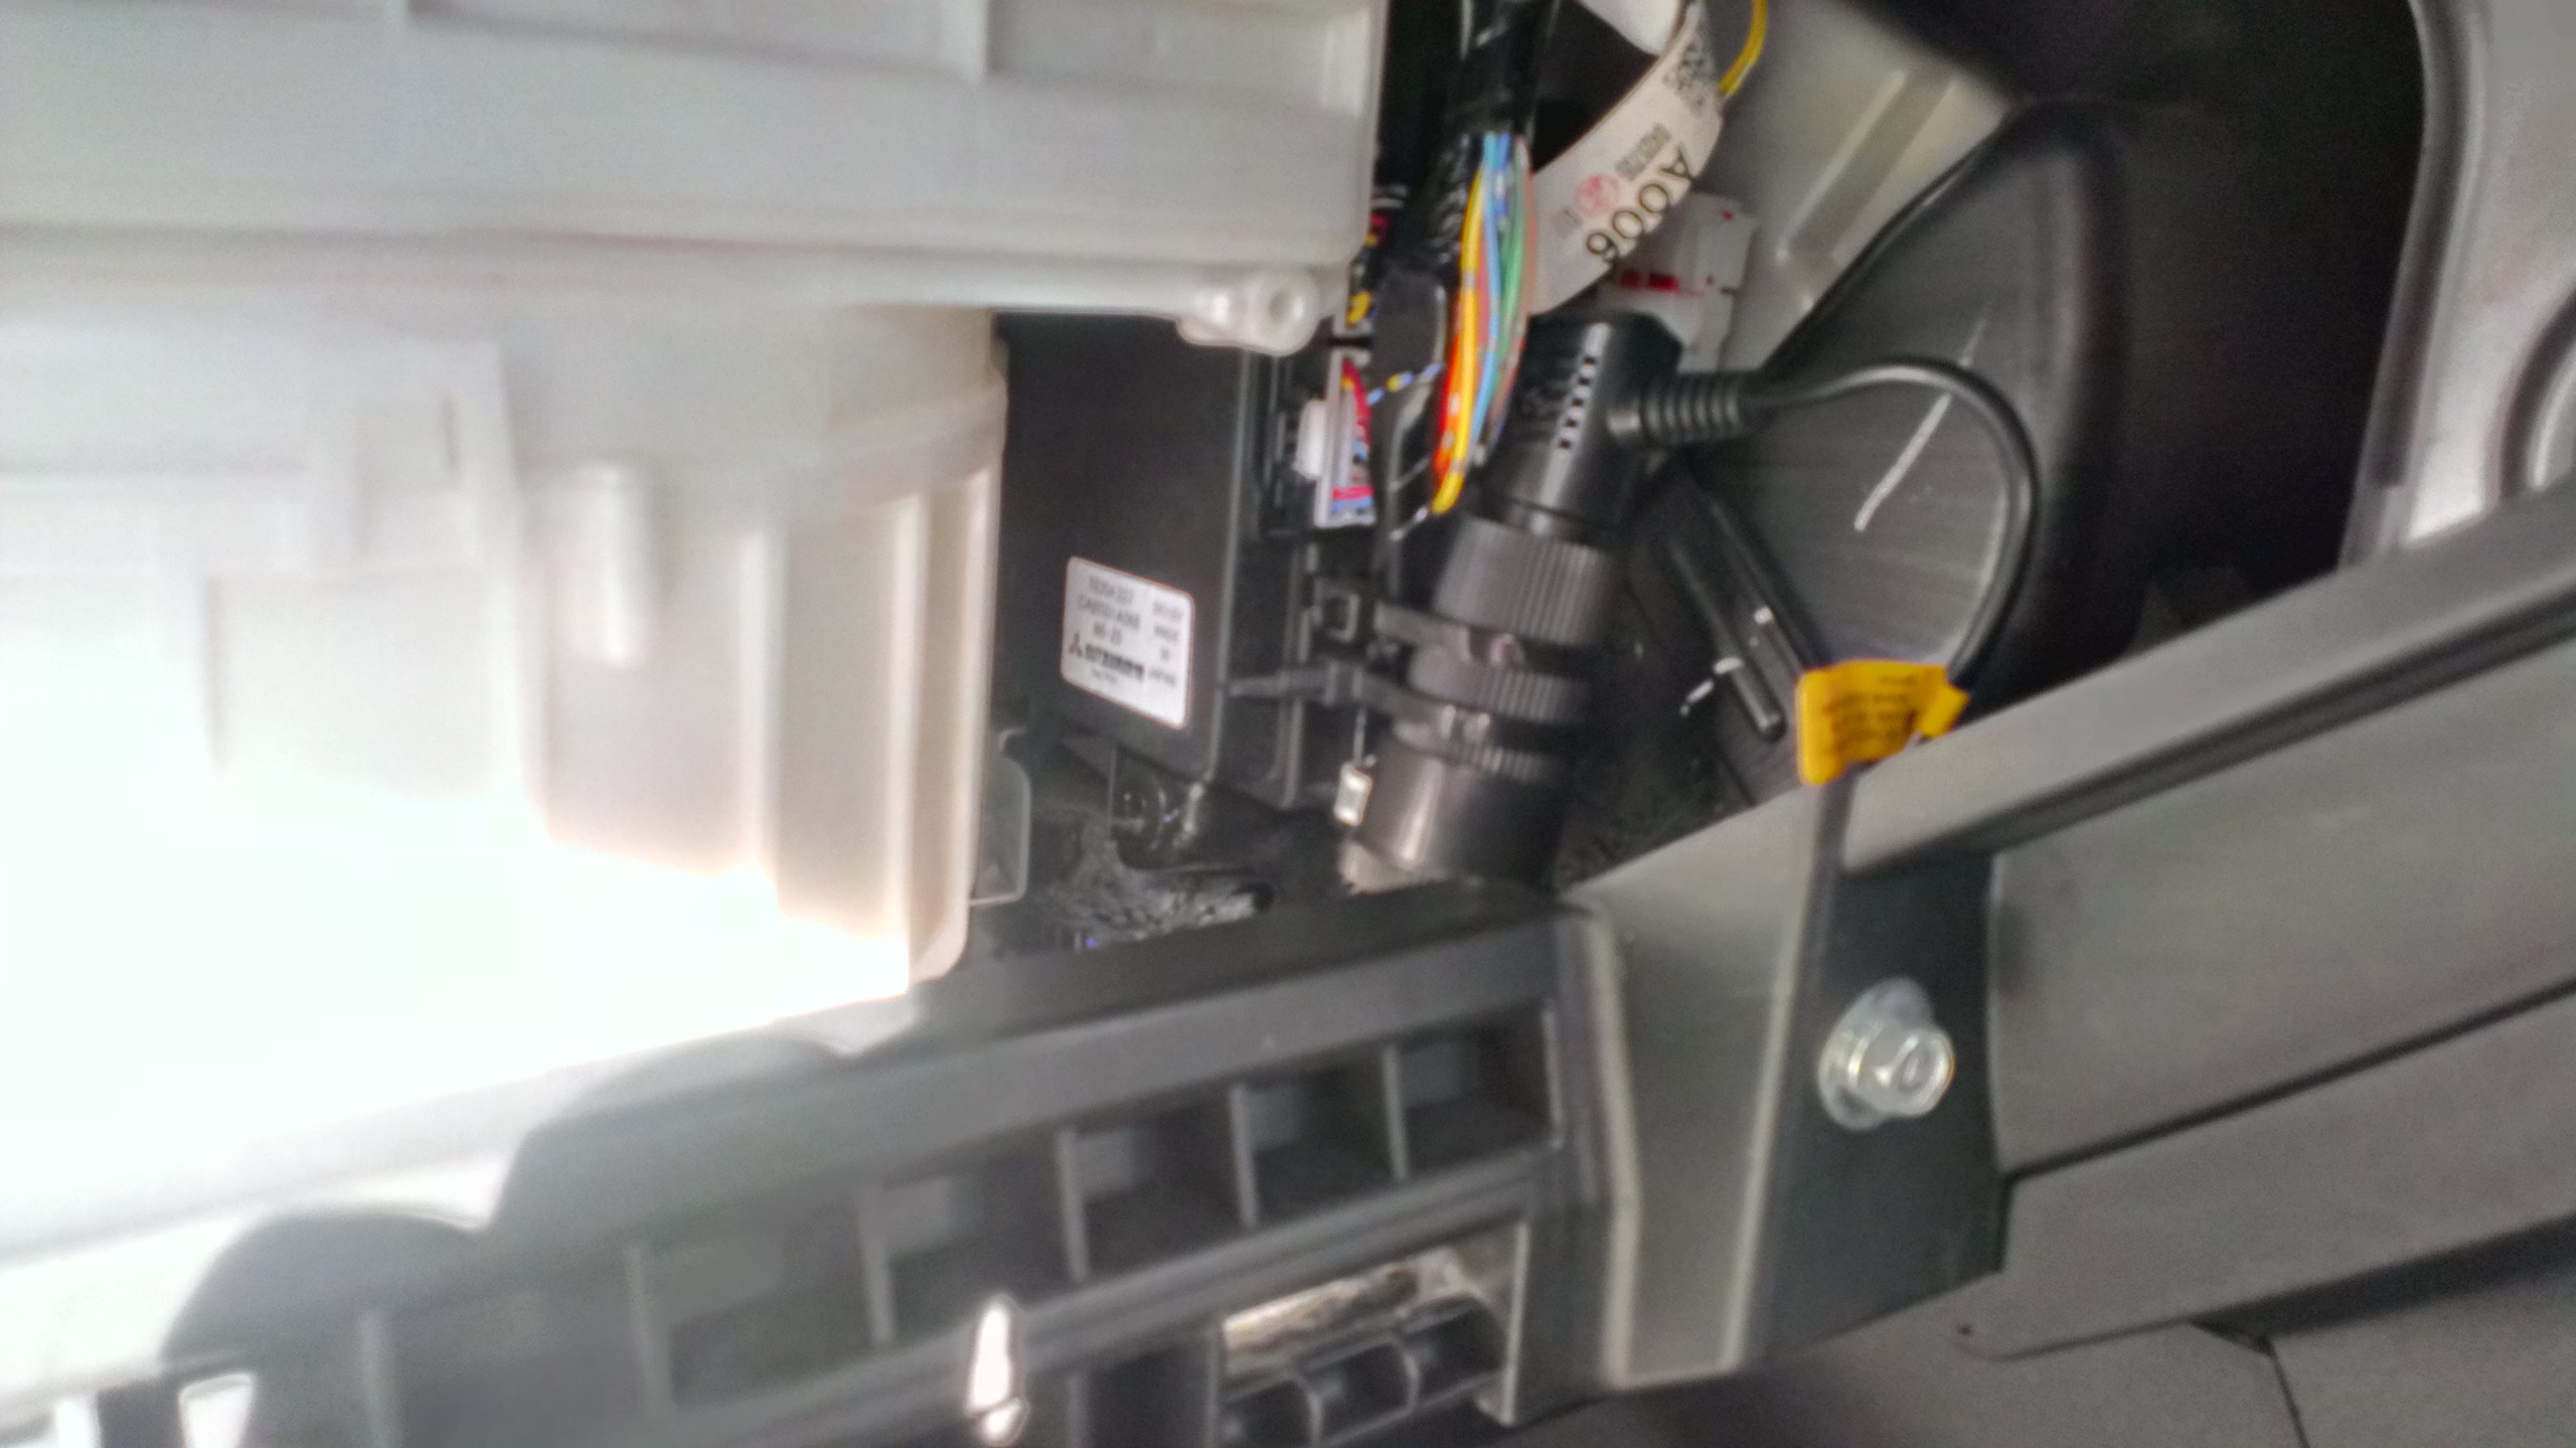
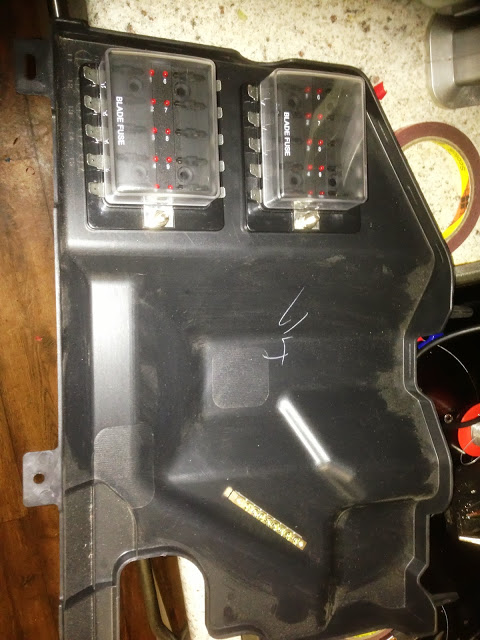
This is the tray under the filter behind the glove box, I decided to use it as my Add on fuse box.
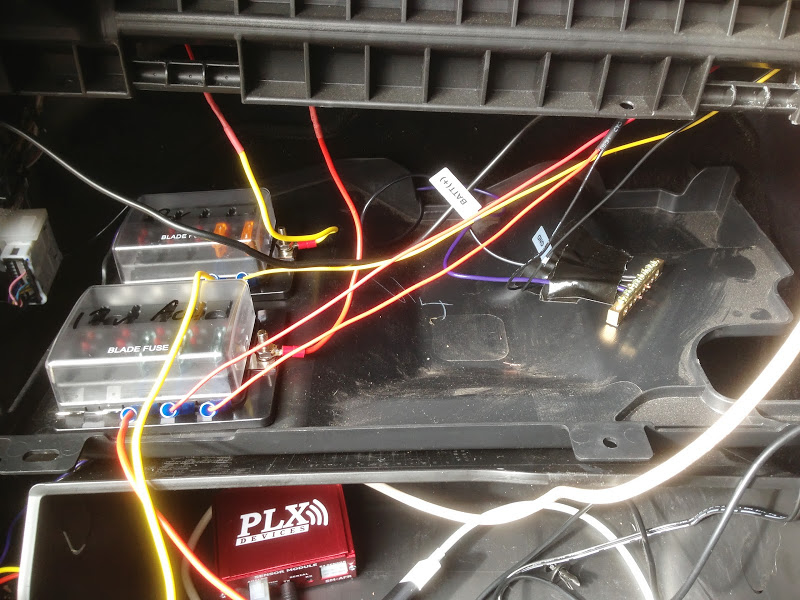
Here it is in all its messy glory, once its in place, everything is concealed. even with the glovebox removed.
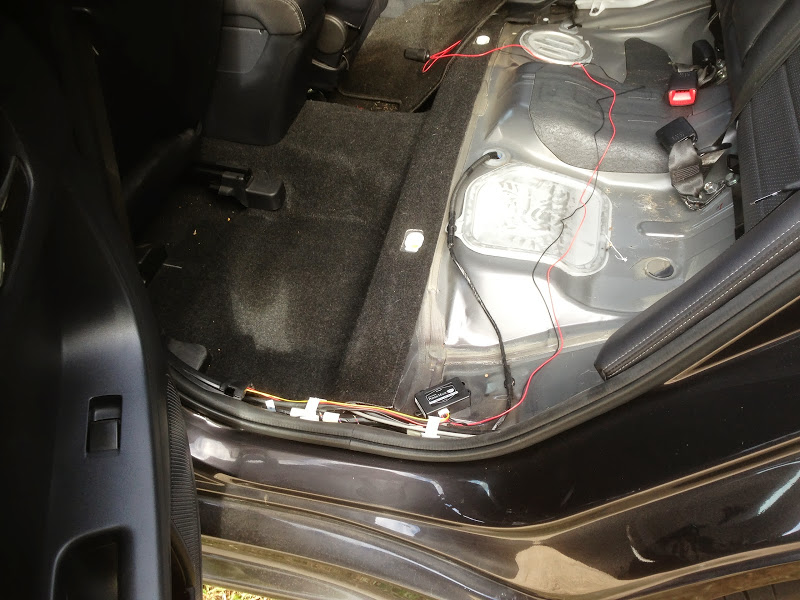
Removed the rear seat bottom and trim, and ran the wires from the front. I ended up positioning the Power Magic thing under the back seat, as the cameras only use about 200-300ma, and are not converting power at all, so they should run cool.
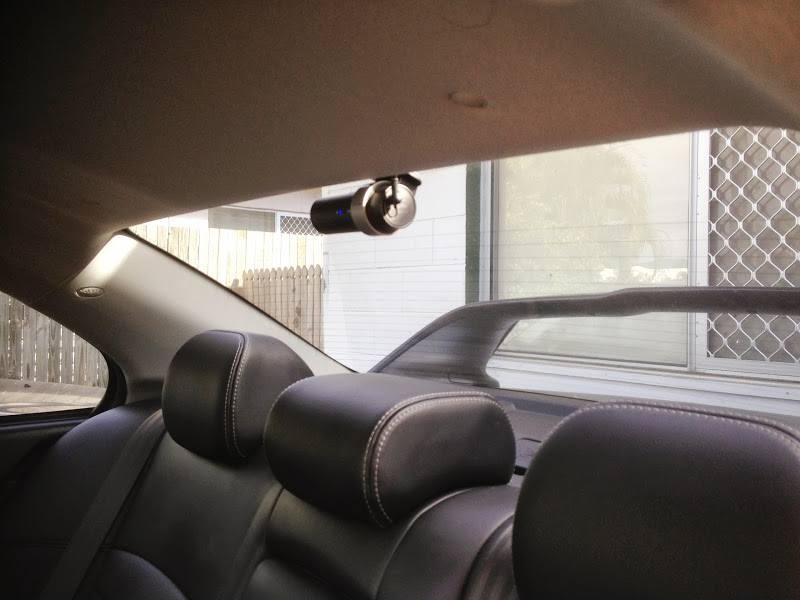
And here we go, Rear cam installed, wires hidden up in the roof, down the pillar and behind the seats.
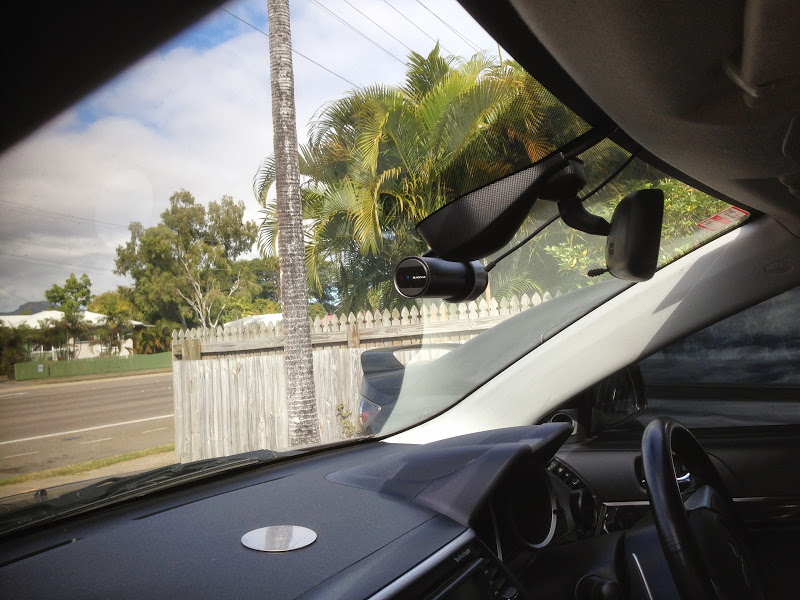
And front, same deal, wire up into the roof, down the A-Pillar, in behind the dash, all wires fixed to stop any rattling.
I fine tuned all the sensitivity settings, disabled some of the voice settings and lowered the volume of the other settings. I also found you can ftp into the camera from a laptop, so I am going to work on a way to route it to the network, and have the server pull the videos from the SD card every night at about 1-2am...
Fun weekend
Found this random switch, had some info on what it could be (Maybe factory Bluetooth related).
Pulled all the trimming off (Yes, I did clean the floor once I noticed how dirty it was)
This is the tray under the filter behind the glove box, I decided to use it as my Add on fuse box.
Here it is in all its messy glory, once its in place, everything is concealed. even with the glovebox removed.
Removed the rear seat bottom and trim, and ran the wires from the front. I ended up positioning the Power Magic thing under the back seat, as the cameras only use about 200-300ma, and are not converting power at all, so they should run cool.
And here we go, Rear cam installed, wires hidden up in the roof, down the pillar and behind the seats.
And front, same deal, wire up into the roof, down the A-Pillar, in behind the dash, all wires fixed to stop any rattling.
I fine tuned all the sensitivity settings, disabled some of the voice settings and lowered the volume of the other settings. I also found you can ftp into the camera from a laptop, so I am going to work on a way to route it to the network, and have the server pull the videos from the SD card every night at about 1-2am...
Fun weekend
Return to “Group Buys Service”
Who is online
Users browsing this forum: No registered users and 59 guests