
Here are some photographs of replacing my Activ boot spoiler with the GSR/Ralliart/VRX wing:
1. Once I had the wing painted and colour matched - Before loosening the two spoiler nuts either side (4x in total) under the bootlid, I carefully masked it with tape and also taped on top of the boot around the old spoiler mounts (So to not scratch the paint). The spoler has two screws at the base. So I was ultra careful not to scratch the paint with these sharp mounts as it was removed.
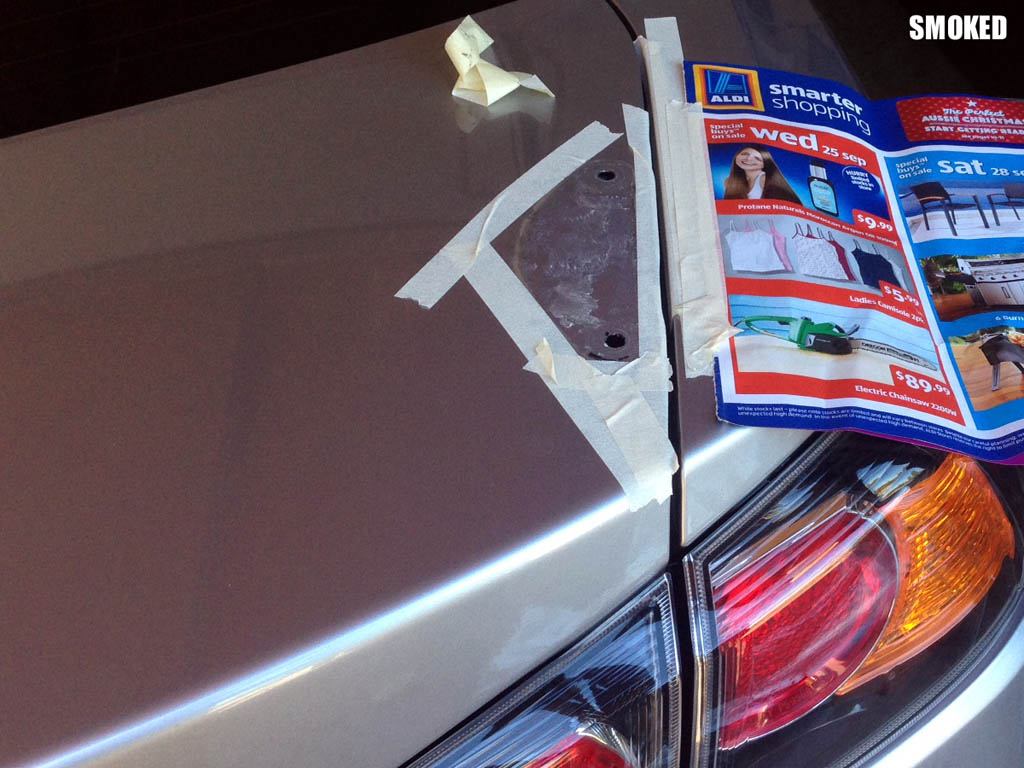
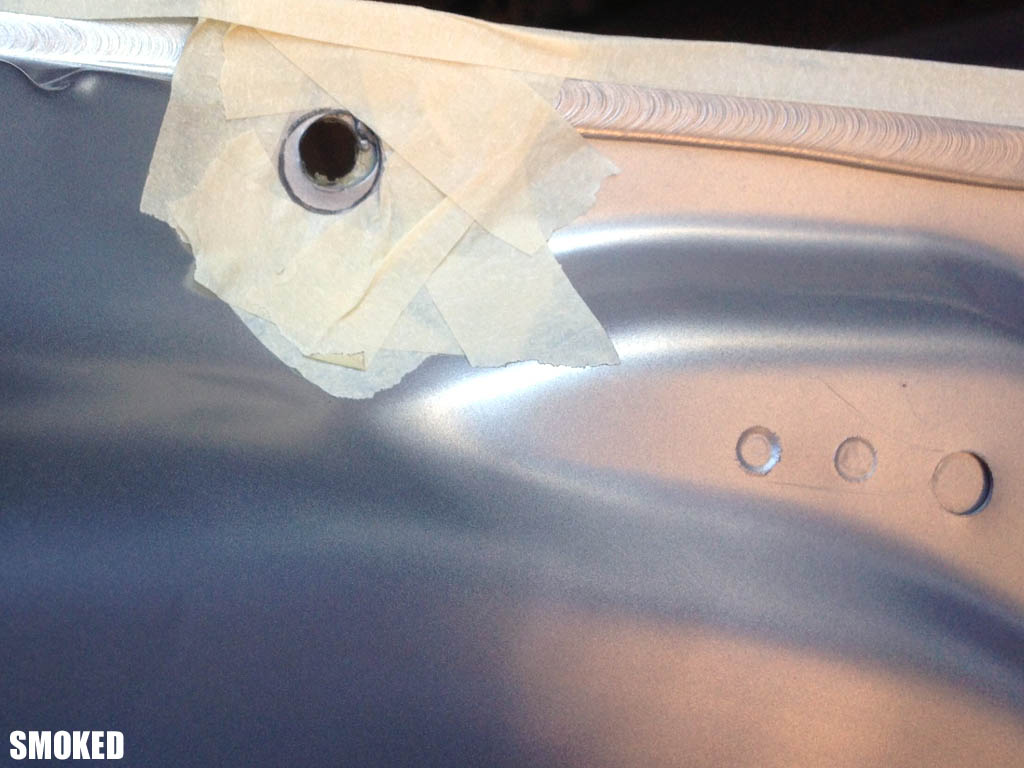
2. I also taped the holes underneath the bootlid so not to scratch the paint with my sockets/ screwdriver.
3. Once the protective masking tape had been removed I needed to clean off the spoiler-gasket residue with prepsol, or a bug and tar remover.
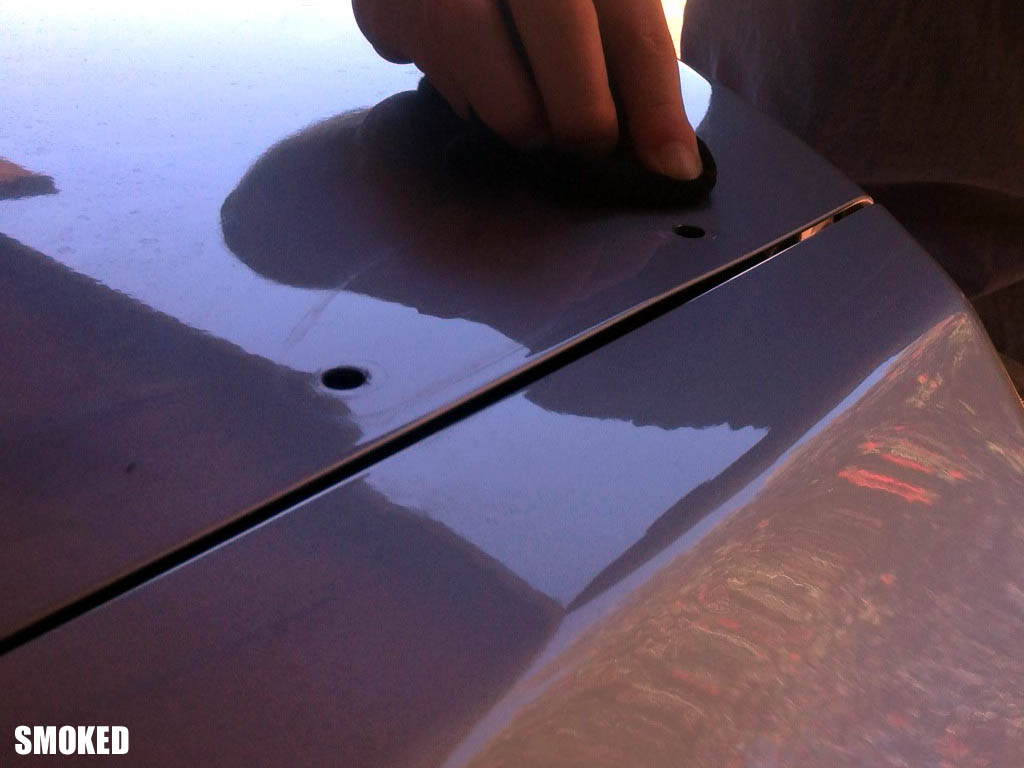
4. Once cleaned off - I then buffed out the area with a polish until super shiny!
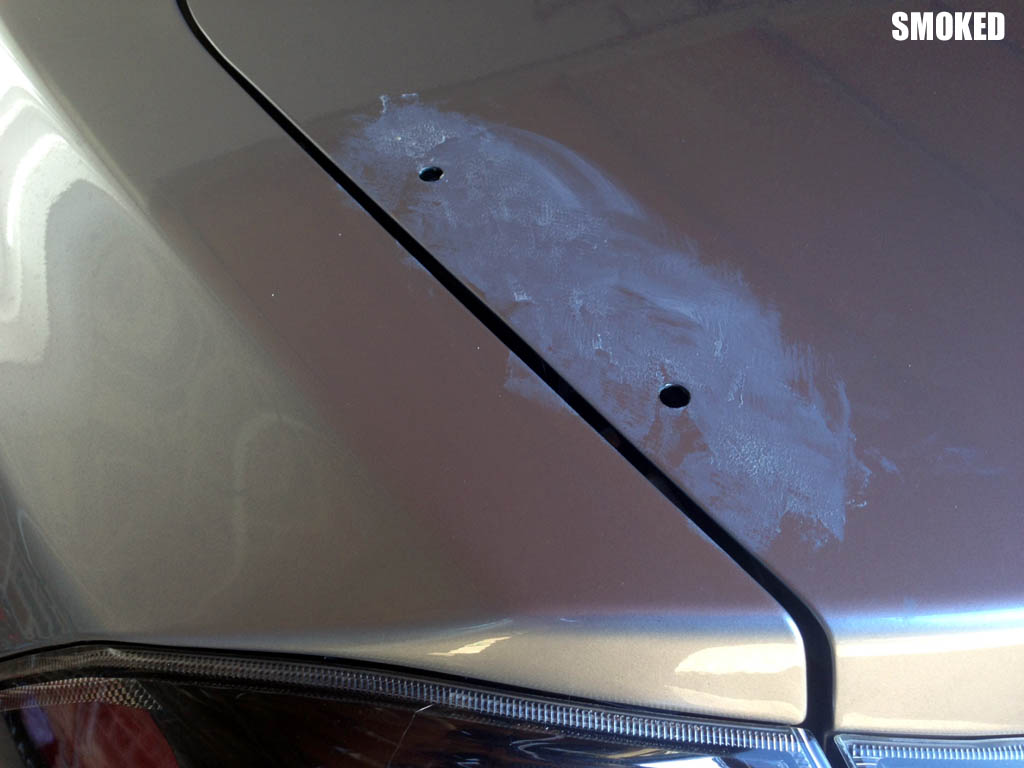
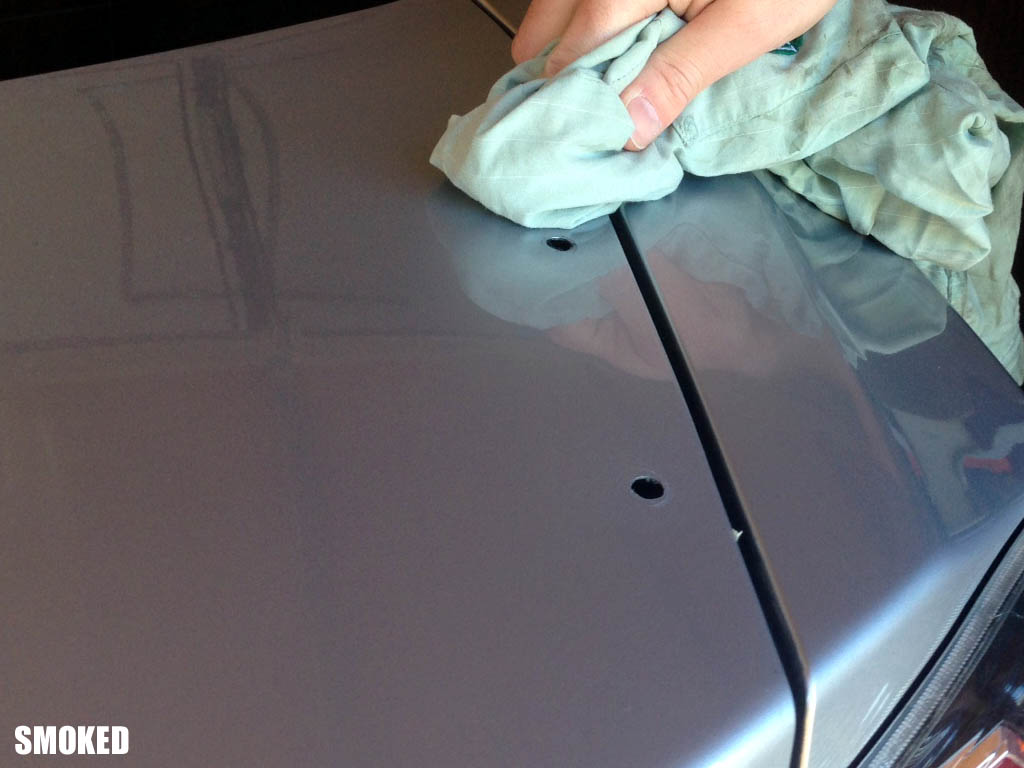
5. Once cleaned, I rinsed and dewaxed the prepsol and polish residue AS SOON AS POSSIBLE with a heavy duty car wash as it is not advised to leave the prepsol on the paint. This will remoce the harsh prepsol and polish. Make sure to rinse the detergent with water thoroughly.

6. Once all dry, I applied a small bead of silicone/sikaflex water sealer to the exposed holes on the bootlid as well as the new wing as well as in a loop around the spoiler legs (This will seal dirt and water from rusting the bootlid). Then I simply lined up the new wing in the old holes, squishing the sealer at the same time. (If same holes, If not then I would have redrilled correct holes with correct template). Then started screwing the bolts and screws back in (Stopping every minute or so) centering/aligning the wing by eye as I went. I made sure the wing sat perfectly then Allowed 10-12 Hours for silicone to cure.
I had to do it in a well ventilated area, and made sure to air the car out after installation.
ALL DONE...LOOKS MUCH NICER