
Hey guys, I just purchased myself a second hand activ spoiler for $80 in the same colour as my car, bargain in my opinion, it came with all the fixings. My main question is that I can see there was a type of adhesive used to keep keep the spoiler in place, almost like a foam type substance, I was just wondering if I would need to use a type of product like this when installing it, or should I just do the holes and put silicon around each hole once it's all together.
Does anyone have measurements as to where I should drill the holes, it is the same as the VRX.
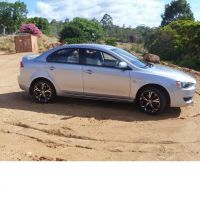
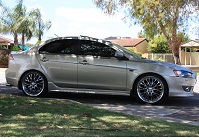
I can't wait to put it on, hopefully it will look a bit more aggressive.
Thanks,
Nick
***** ALERT - Nominations for your new ClubCJ Committee can be made here *****
Activ spoiler install
Moderators: Moderators, Senior Moderators

Nick congratulations on the great buy. That will be a nice little feature.
Try your local Mitsubishi dealer as they will be able to print you a copy of the installation instructions.
I would fit the rubber/foam seal down. It is just door seal. You can buy it from hardware stores or rubber suppliers. It is sticky on one side. Just fit it to the bottom of the spoiler all the way round. Cut it so it is neat around the base of the spoiler. It will stop the spoiler from moving and protect your paint. It also will seal against moisture getting in the holes.
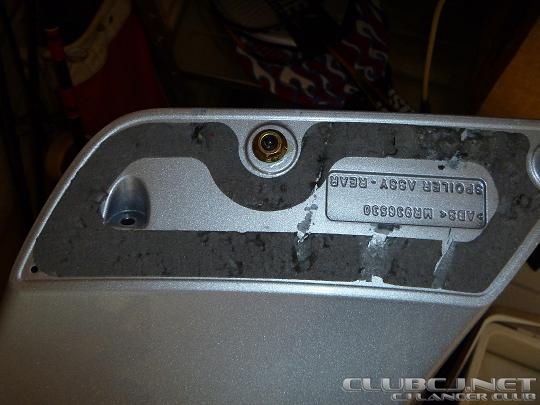
Well I took some pictures to help clarify some of the things I was talking about.
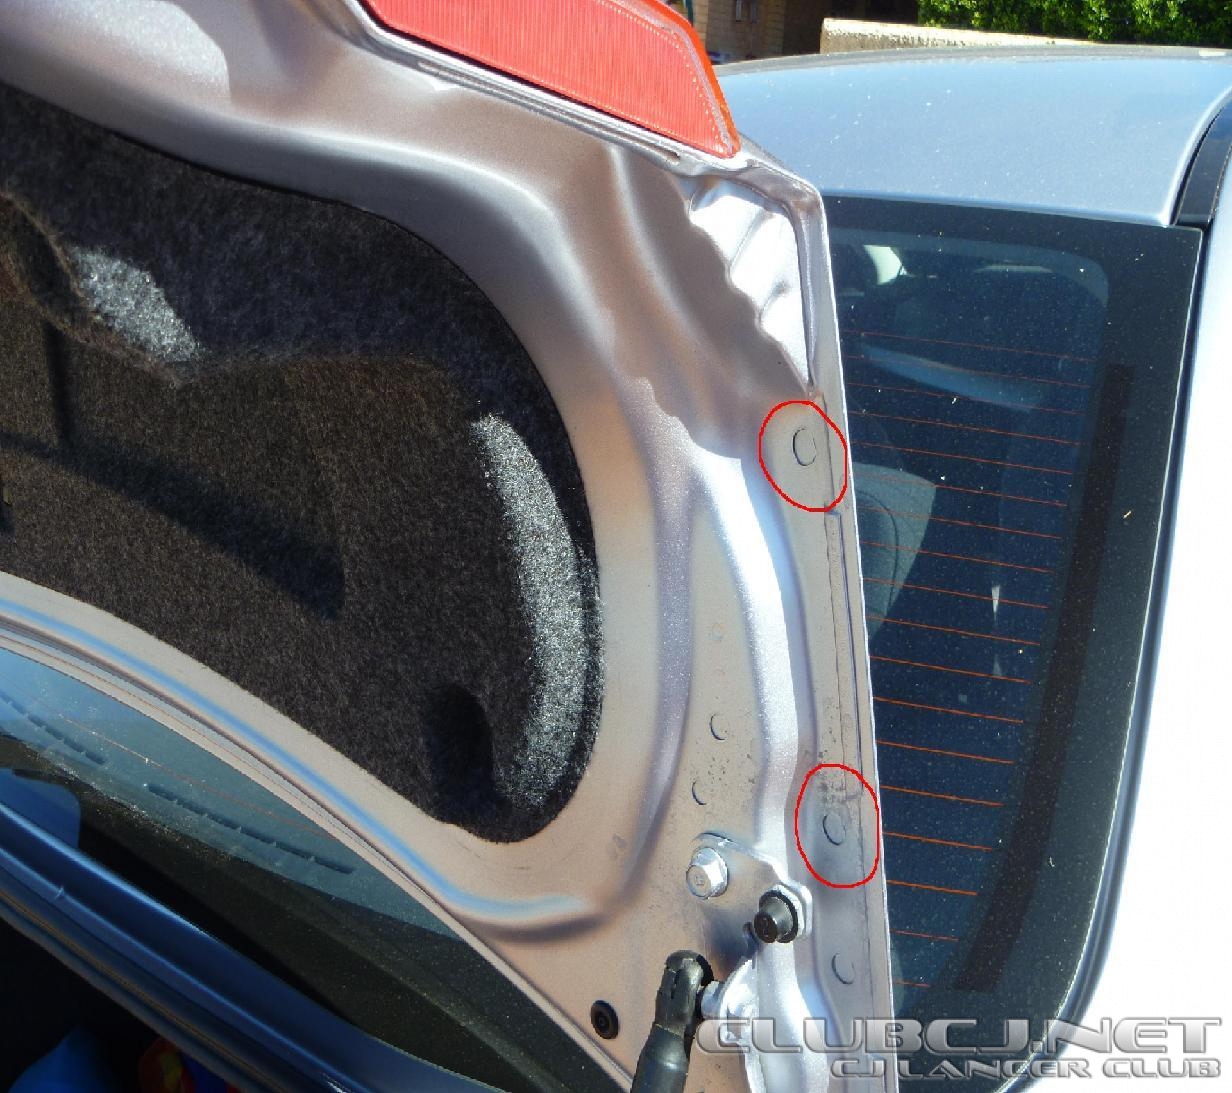
Here are the holes that I am talking about, from sight they look like they will match, but as you pointed out Doreen you think they don't fully line up, I was told the VRX and Activ spoiler have the same holes, fingers crossed:
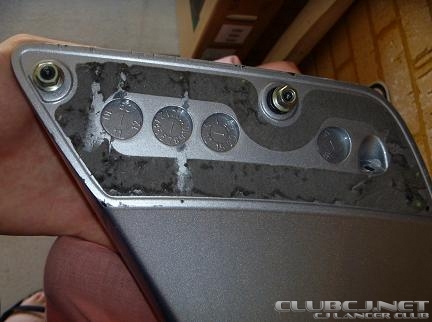
Troy, there is still a bit of that rubber left on the spoiler on both sides so hopefully I don't need to replace it, what do you think?
Here are the holes that I am talking about, from sight they look like they will match, but as you pointed out Doreen you think they don't fully line up, I was told the VRX and Activ spoiler have the same holes, fingers crossed:
Troy, there is still a bit of that rubber left on the spoiler on both sides so hopefully I don't need to replace it, what do you think?
Yes all Mitsubishi dealer will have copies of the drawing. My dealer is happy just to print them for me at no charge.
As for the holes you pointed out, they are tooling holes for the inner boot panel. I will try not to get too technical, but they are used to help locate the panel as it goes from one press tool to the next. But tooling holes are often put in a position that also are used for some thing else. eg. spoiler attachment holes. Factory fitted spoilers will have the holes punched in to the outer boot panel as well. This helps with location issues and time. Also the holes get painted as well.
Fitting the spoiler to a boot without the holes is easy enough though. You just need to measure properly and be good with a hand drill. If you can check the holes position to some ones car with a spoiler fitted as factory(VRX) then this will help you.
The rubber looks fine on the bottom of the spoiler. It is just there to help protect the paint on both boot and spoiler. Just make sure they are not touching when you fit the spoiler. If they are, just cut new ones and use the old ones as a template.
-
DORA_ANNE
- Lancer MASTER

- Posts: 2253
- Joined: Fri Jan 01, 2010 8:07 pm
- Location: Northern Rivers NSW AUSTRALIA
Hi Nick I Have Taken This Photo of the Bolts to give you an idea where ours are and I measured between the bolts and it is Roughly 12 cm , But Bear in mind that I have the Little VR Lip spoiler as well and my Activ Spoiler fits just in Front of that . So yours might fit a little back then mine . Hope this makes sense to you if not just ask any Questions I may be able to help you with .

I Have put a photo in to give you an idea with my lip Spoiler as well . Regards Doreen .

I Have put a photo in to give you an idea with my lip Spoiler as well . Regards Doreen .

Angels Are Sometimes Disguised As Friends

Rear Spoiler Removal And Installation

Uploaded with ImageShack.us
Tape Installation

Uploaded with ImageShack.us
1. Installation position CAUTION:
o The ambient temperature should be 15 (59) to 40°C(104°F). Ensure that the working area is clean.
o If ambient temperature is less than 15°C (59°F), heat the tape and application surface to a temperature of 15 (59)to 40°C(104°F).
o Be careful that air bubbles are not formed under the tape.
2. Installation procedure
1. Wipe the tape application surface and clean it with a rag moistened with isopropyl alcohol.
2. Remove backing paper from the tape, and apply it to the rear spoiler assembly.
I don't know if this will help but here ya go. =)

Uploaded with ImageShack.us
Tape Installation

Uploaded with ImageShack.us
1. Installation position CAUTION:
o The ambient temperature should be 15 (59) to 40°C(104°F). Ensure that the working area is clean.
o If ambient temperature is less than 15°C (59°F), heat the tape and application surface to a temperature of 15 (59)to 40°C(104°F).
o Be careful that air bubbles are not formed under the tape.
2. Installation procedure
1. Wipe the tape application surface and clean it with a rag moistened with isopropyl alcohol.
2. Remove backing paper from the tape, and apply it to the rear spoiler assembly.
I don't know if this will help but here ya go. =)
-
scott_drake
- Lancer VRX/GTS

- Posts: 453
- Joined: Thu Sep 30, 2010 1:46 pm
- Location: world wide


Who is online
Users browsing this forum: No registered users and 25 guests