***** ALERT - Nominations for your new ClubCJ Committee can be made here *****
Interior roof trim
Moderators: Moderators, Senior Moderators

Graham wrote:I have a little bit of knowledge about that sort of stuff, I would probably feed the wires along the sides and down the a pillar if I was to do it
The leather idea sounds complicated with the gluing back on but it definitely looks good.
Sure, images for parcel shelf would be great, cheers.
+1 rep for you too
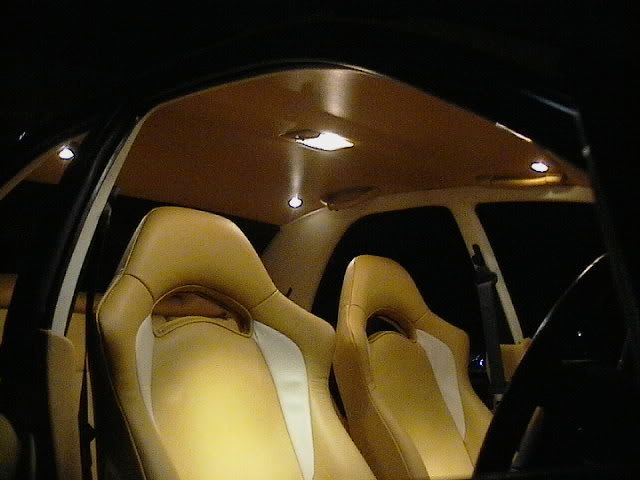
With the wiring you just go into the existing loom behind the roof lining now which is being used by your current center light. The downlights do not draw too much for the interior light circuit to handle so it is ok.
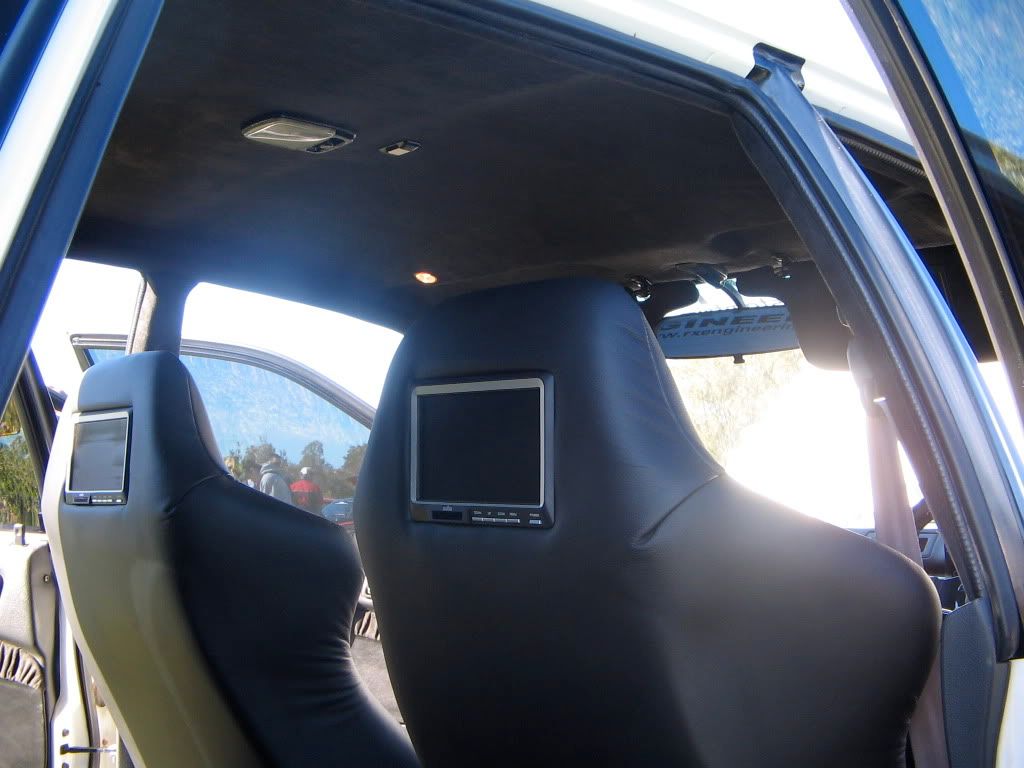
I probably wouldn't recommend having ago at the pleated pattern if you are a novice to this sort of thing but its good for you guys to know that if you want something a bit more custom then the options are available. I will post a few pics for you shortly of other interiors.
sweet, cheers - some of those look a bit complex for me though 
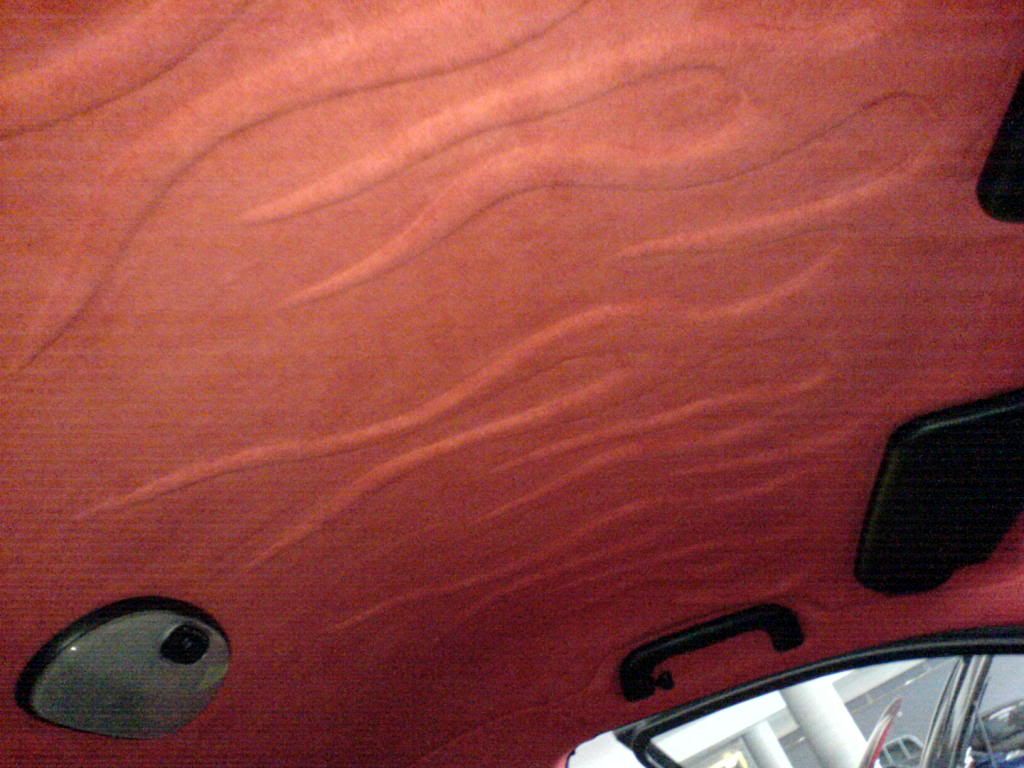
A quick question though, to avoid those creases when going around the curves on the suede should I use a hairdryer or something or stretch it more?
A quick question though, to avoid those creases when going around the curves on the suede should I use a hairdryer or something or stretch it more?
Four wheels move the body, two wheels move the soul.


Daily Driver: Yamaha R1
Weekend Warrior: BMW Z4 Roadster
Daily Driver: Yamaha R1
Weekend Warrior: BMW Z4 Roadster
Nothing can make suede stretch more. The only material that should be heated for stretch is vinyl, and if you do ever use leather then a heat gun will actually shrink it!
Suede will stretch more on the diagonal then across the roll or up and down for that matter, you should not have any need to stretch the suede for your roof lining, just lay it on and rub it down.
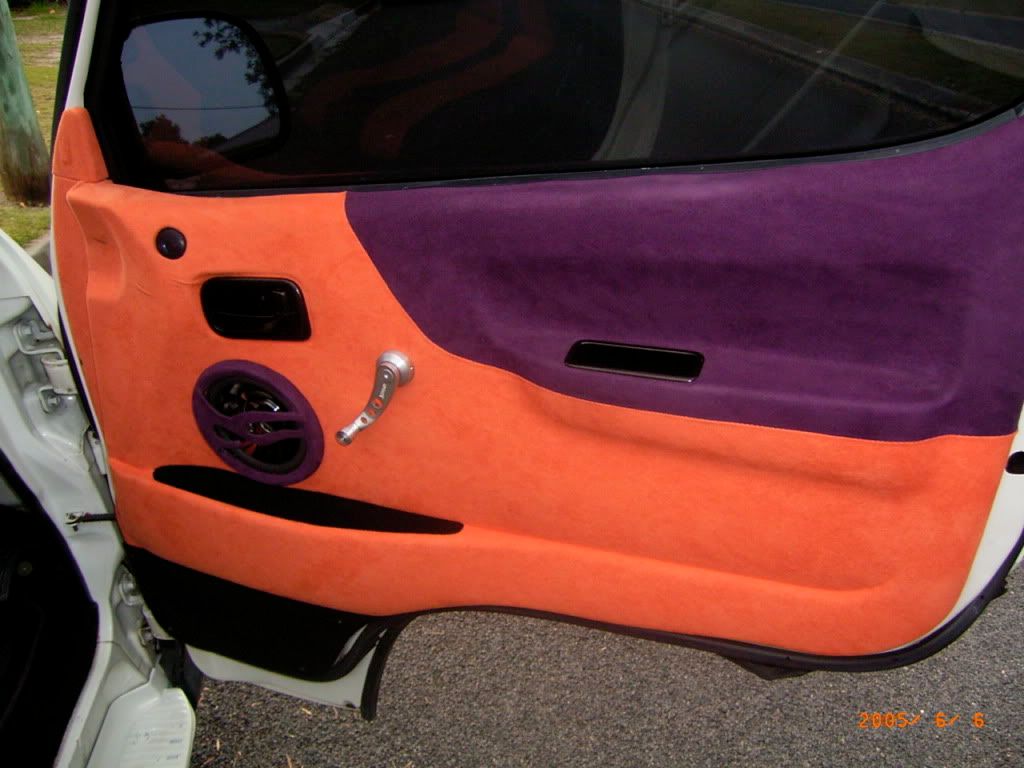
IF you think something like the flames (1st pic) is hard then you are wrong, they are very easy for anyone to do and all you need is some cardboard (or you can use thin foam is you want it to really stand out but the best results will be given with some cardboard) and all you do is cut out the shape you want (can even be the same as the pleated section as shown above) and glue the shape into position and then lay the material over the top like you would do without the pattern, then when you start gluing it on just start from the center and work your way to the outside but make sure you do the pattern early on in the piece.
If you need and other tips don't hesitate to ask.
Suede will stretch more on the diagonal then across the roll or up and down for that matter, you should not have any need to stretch the suede for your roof lining, just lay it on and rub it down.
IF you think something like the flames (1st pic) is hard then you are wrong, they are very easy for anyone to do and all you need is some cardboard (or you can use thin foam is you want it to really stand out but the best results will be given with some cardboard) and all you do is cut out the shape you want (can even be the same as the pleated section as shown above) and glue the shape into position and then lay the material over the top like you would do without the pattern, then when you start gluing it on just start from the center and work your way to the outside but make sure you do the pattern early on in the piece.
If you need and other tips don't hesitate to ask.

Billyboy, I am a tradesman motor trimmer, but i have left the trade and am doing something different now. But i still do a bit of work at my old work and at home too.
If any of you guys have any questions i am happy to help you all out, it is great to see people willing to get in and have a go instead of just splashing the cash at someone else to do it all for them, make the car alot more personalised when you have dont it yourself.
A few of the images posted have been out of my own vehicles but there are a few customers cars too.
I did my roof yesterday, I'll post pics up tomorrow from work.
It was quite a challenge getting the roof off and taking it out of the car.
I tried getting it out of any of the 4 doors and it won't fit, nor will it fit through the boot.
In the end I bent it so it would fit through the passengers door.
Putting the door handles on is a nightmare! I accidently put the first one on upside down.. lol and I also broke a clip on a the A and C pillar, and I don't think the B pillars are attached properly.
I'll have to take a look and try to fix it when I attempt to trim the pillars in black suede later.
The roof is a lighter shade and different material to the suede so I'll retrim the doors to match the roof and swap the current door inserts with my mums ES since she likes that colour blue
Pics will be up here and in my car thread on Monday.
Thanks Jhiace for the help aswell, it's much appreciated
Four wheels move the body, two wheels move the soul.
Daily Driver: Yamaha R1
Weekend Warrior: BMW Z4 Roadster
Daily Driver: Yamaha R1
Weekend Warrior: BMW Z4 Roadster
Must've just been my bad skills then
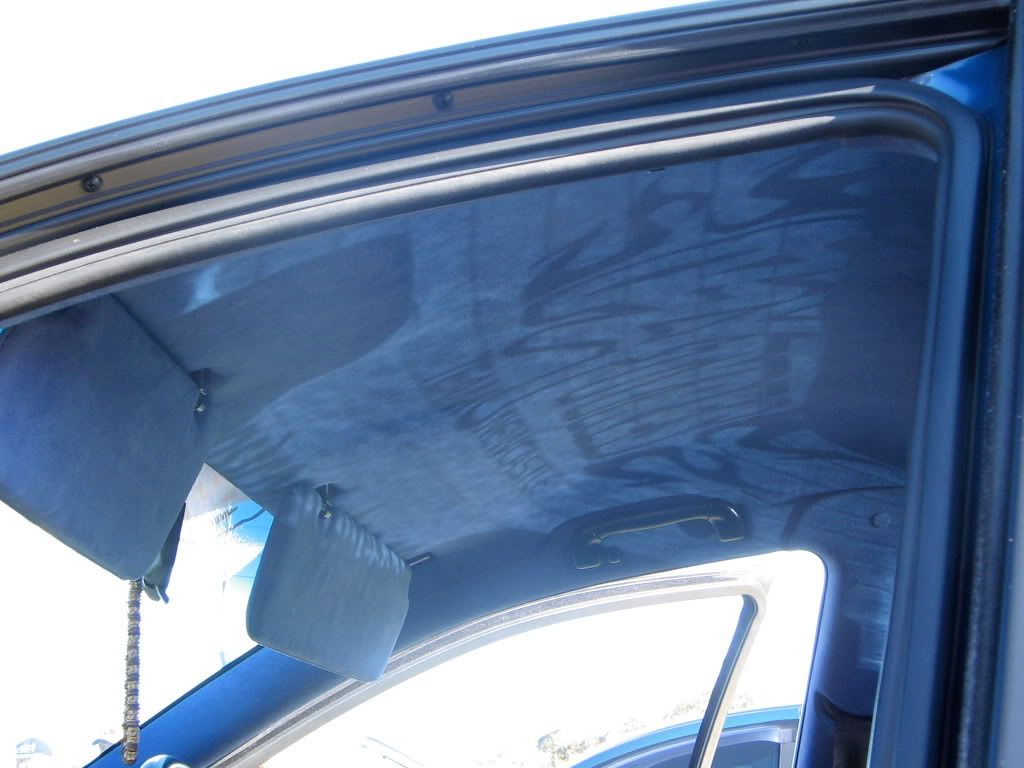
here are the pics, I did it in a lighter colour and a different fabric that was wider to cover the roof in one go, I don't really like the colour thaaat much, I'll leave it for now though
EDIT: forgot to add the pic

here are the pics, I did it in a lighter colour and a different fabric that was wider to cover the roof in one go, I don't really like the colour thaaat much, I'll leave it for now though
EDIT: forgot to add the pic
Four wheels move the body, two wheels move the soul.
Daily Driver: Yamaha R1
Weekend Warrior: BMW Z4 Roadster
Daily Driver: Yamaha R1
Weekend Warrior: BMW Z4 Roadster

-
Teesh
- INACTIVE Member Account
- Posts: 18
- Joined: Wed Sep 23, 2009 11:26 am
- Location: Sydney, Australia
i have absolutely no idea about this but, how do you stick it the suede onto the roof lining? what sort of glue do you use.
My glue solution for everything is Liquid nails...but i dont think it would apply in this case.
i would like to do my roof lining red, then have two black racing stripes along the centre, and have red stitching for the stripes.
Im thinking put on the red suede first, cut out the racing stripes then stick it on? but fold it along the length of it so that just the stitching shows then stick it on....i dont know if this is possible....am i just imagining something impossible?
Go Flyingearwax
I know what you mean, I'd imagine that it's possible but I don't really know too much about this sort of stuff.
To stick it on I used a mixture of Spray adhesive and some PVA glue (Craft glue in a bottle from Bunnings)
To stick it on I used a mixture of Spray adhesive and some PVA glue (Craft glue in a bottle from Bunnings)
Four wheels move the body, two wheels move the soul.
Daily Driver: Yamaha R1
Weekend Warrior: BMW Z4 Roadster
Daily Driver: Yamaha R1
Weekend Warrior: BMW Z4 Roadster
Who is online
Users browsing this forum: No registered users and 45 guests